Create an Invoice from a Job
Create invoices directly from any job in Swivl customer and job details are pulled in automatically, so you can bill for completed work and track payments without the extra admin work
Overview
Creating an invoice from a job in Swivl is quick and straightforward. Customer and job details are pulled in automatically, so there's no duplicate data entry. Use invoices to bill for completed work, set payment terms, and track what's been paid all linked directly to the job.
Who can access this
- Super Admin: can create invoices from any job.
- Admin: can create invoices from any job.
- Lead Technicians and Technicians cannot create invoices.
How to create an invoice from a job
From the Jobs List
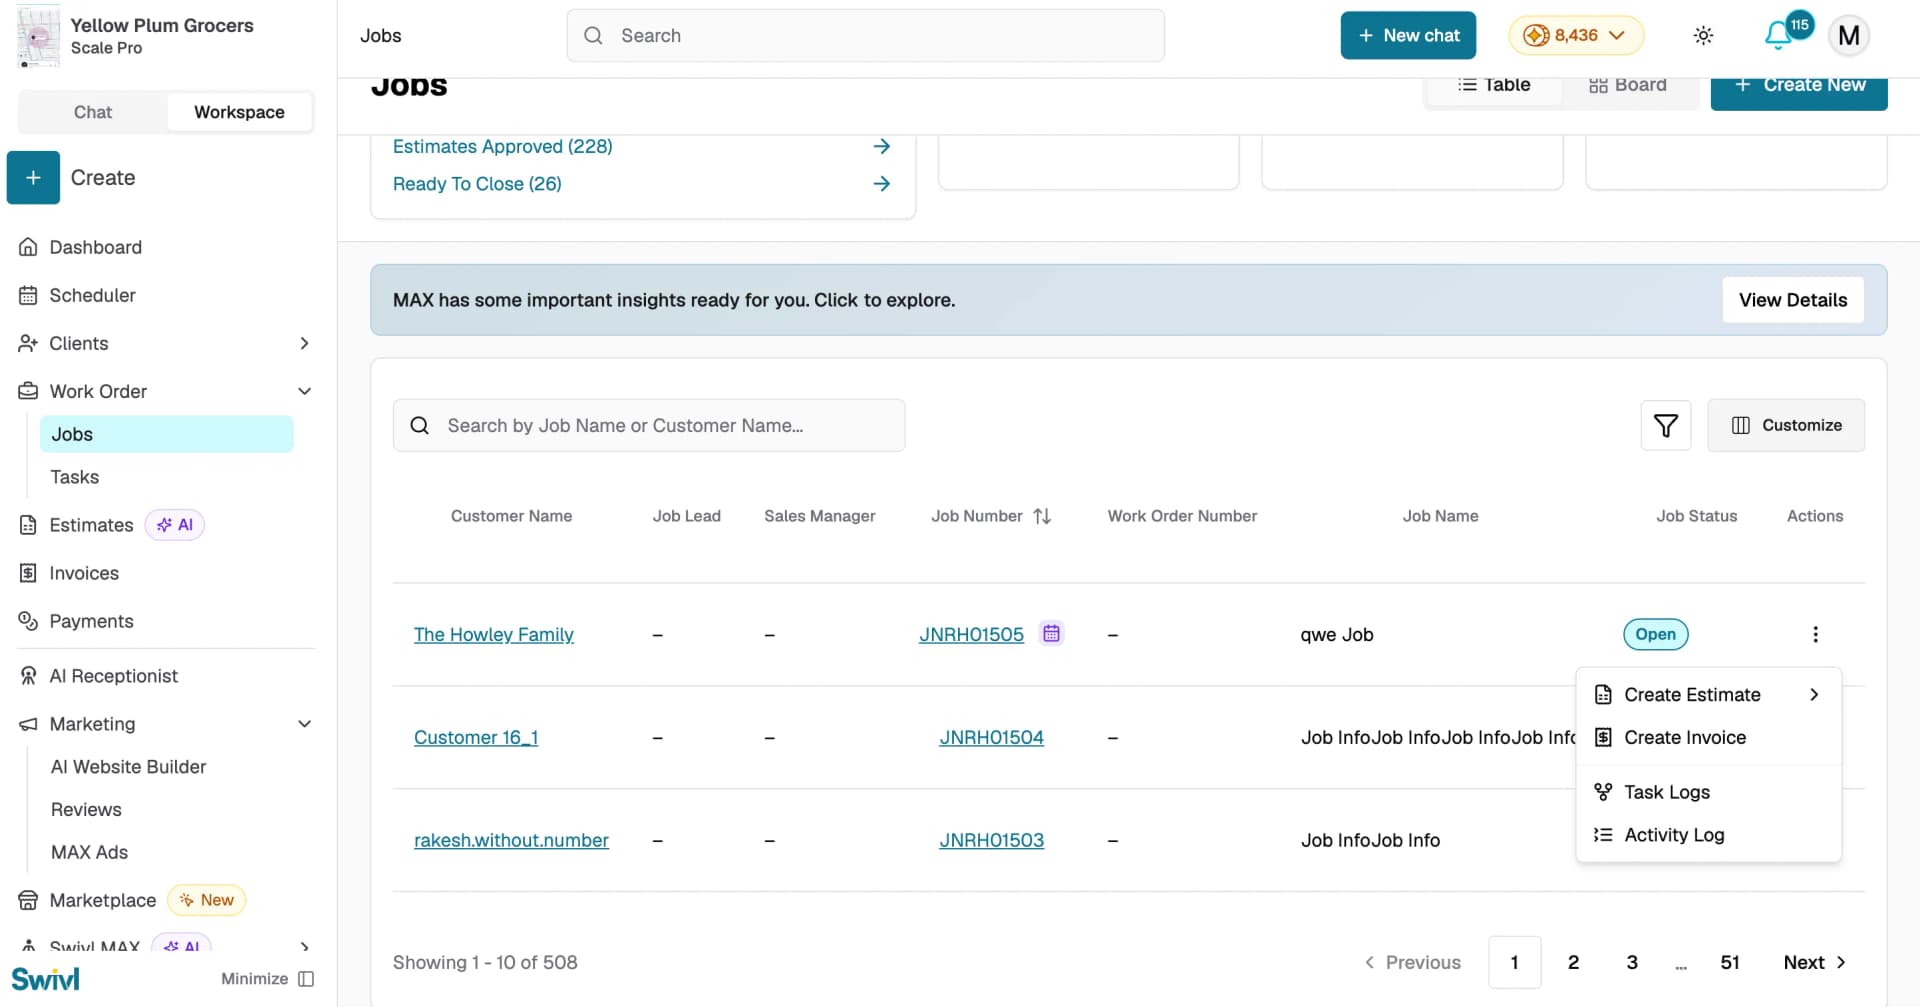
- Go to Work Order > Jobs.
- Find the job in the table.
- Click the actions menu (⋮) on the job row.
- Select Create Invoice from the dropdown.
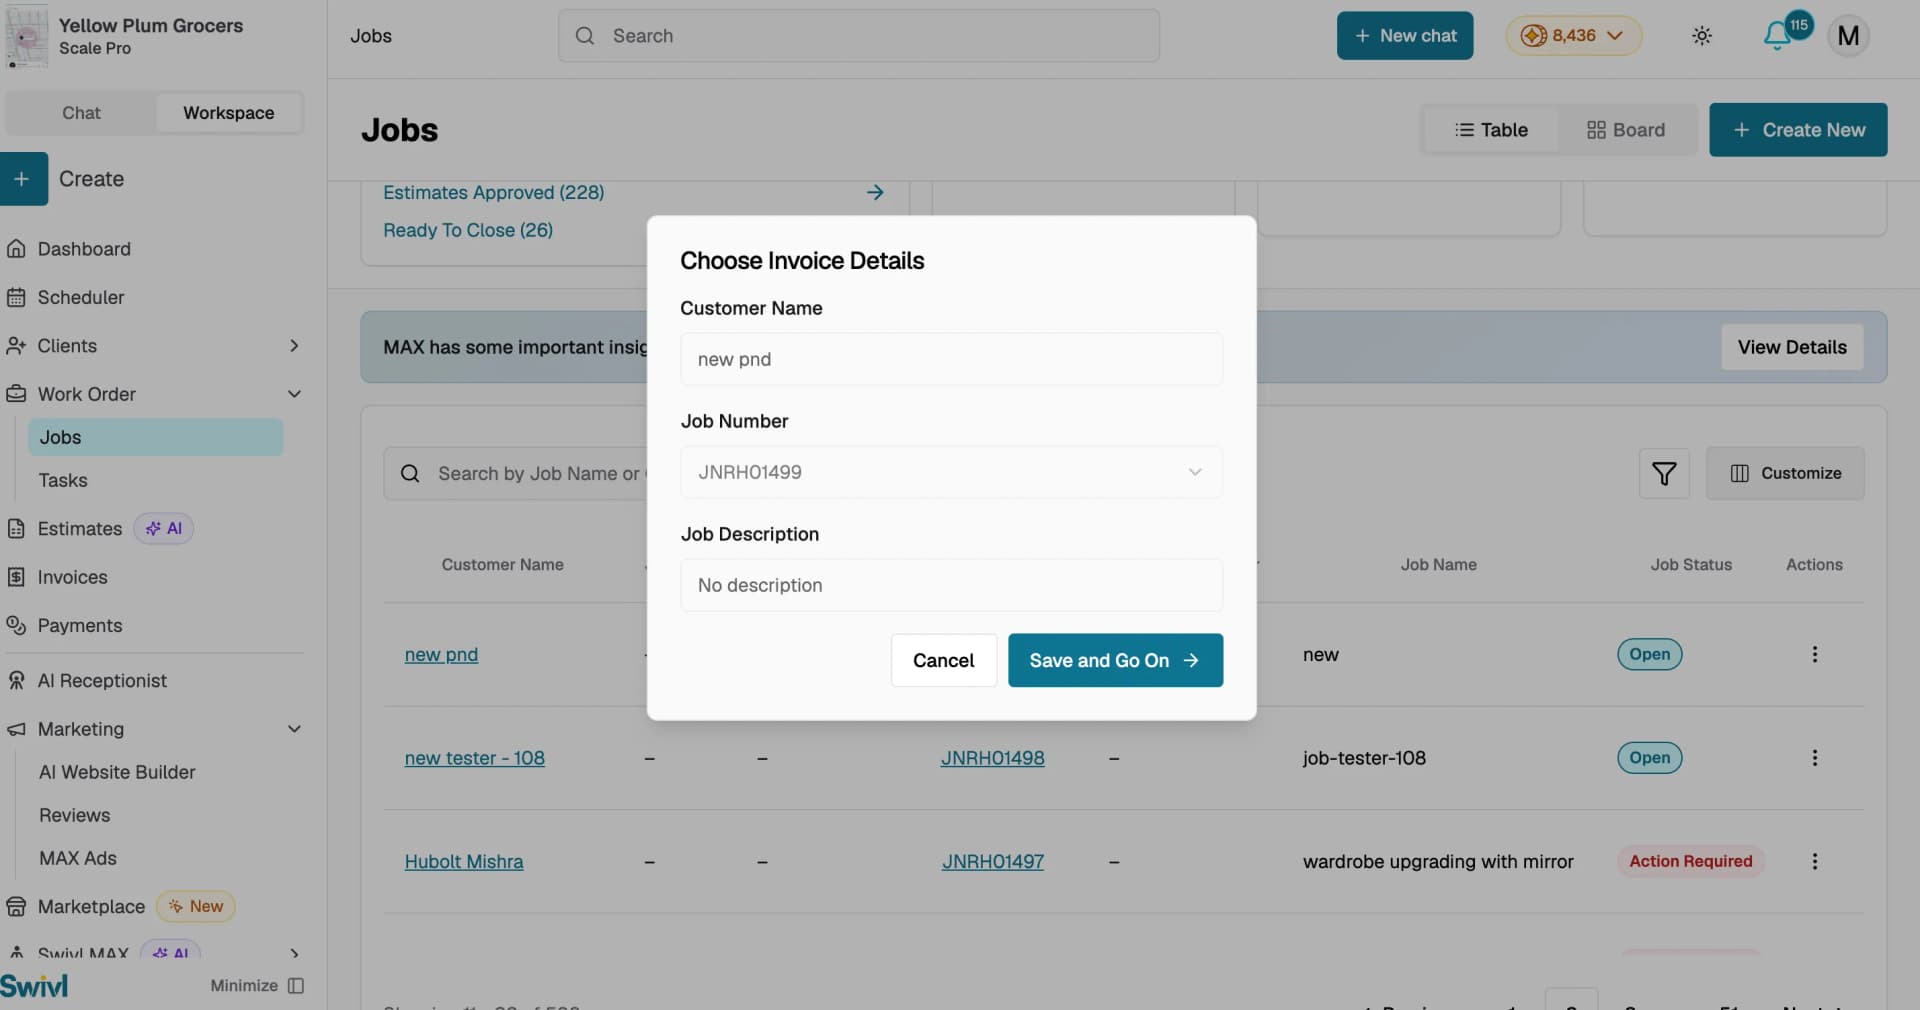
- A Choose Invoice Details dialog opens showing the customer name, job number, and job description all pre-filled from the job record.
- Review the details and click Save and Go On to proceed to the invoice form.
From the Job Detail Page
- Open the job detail page.
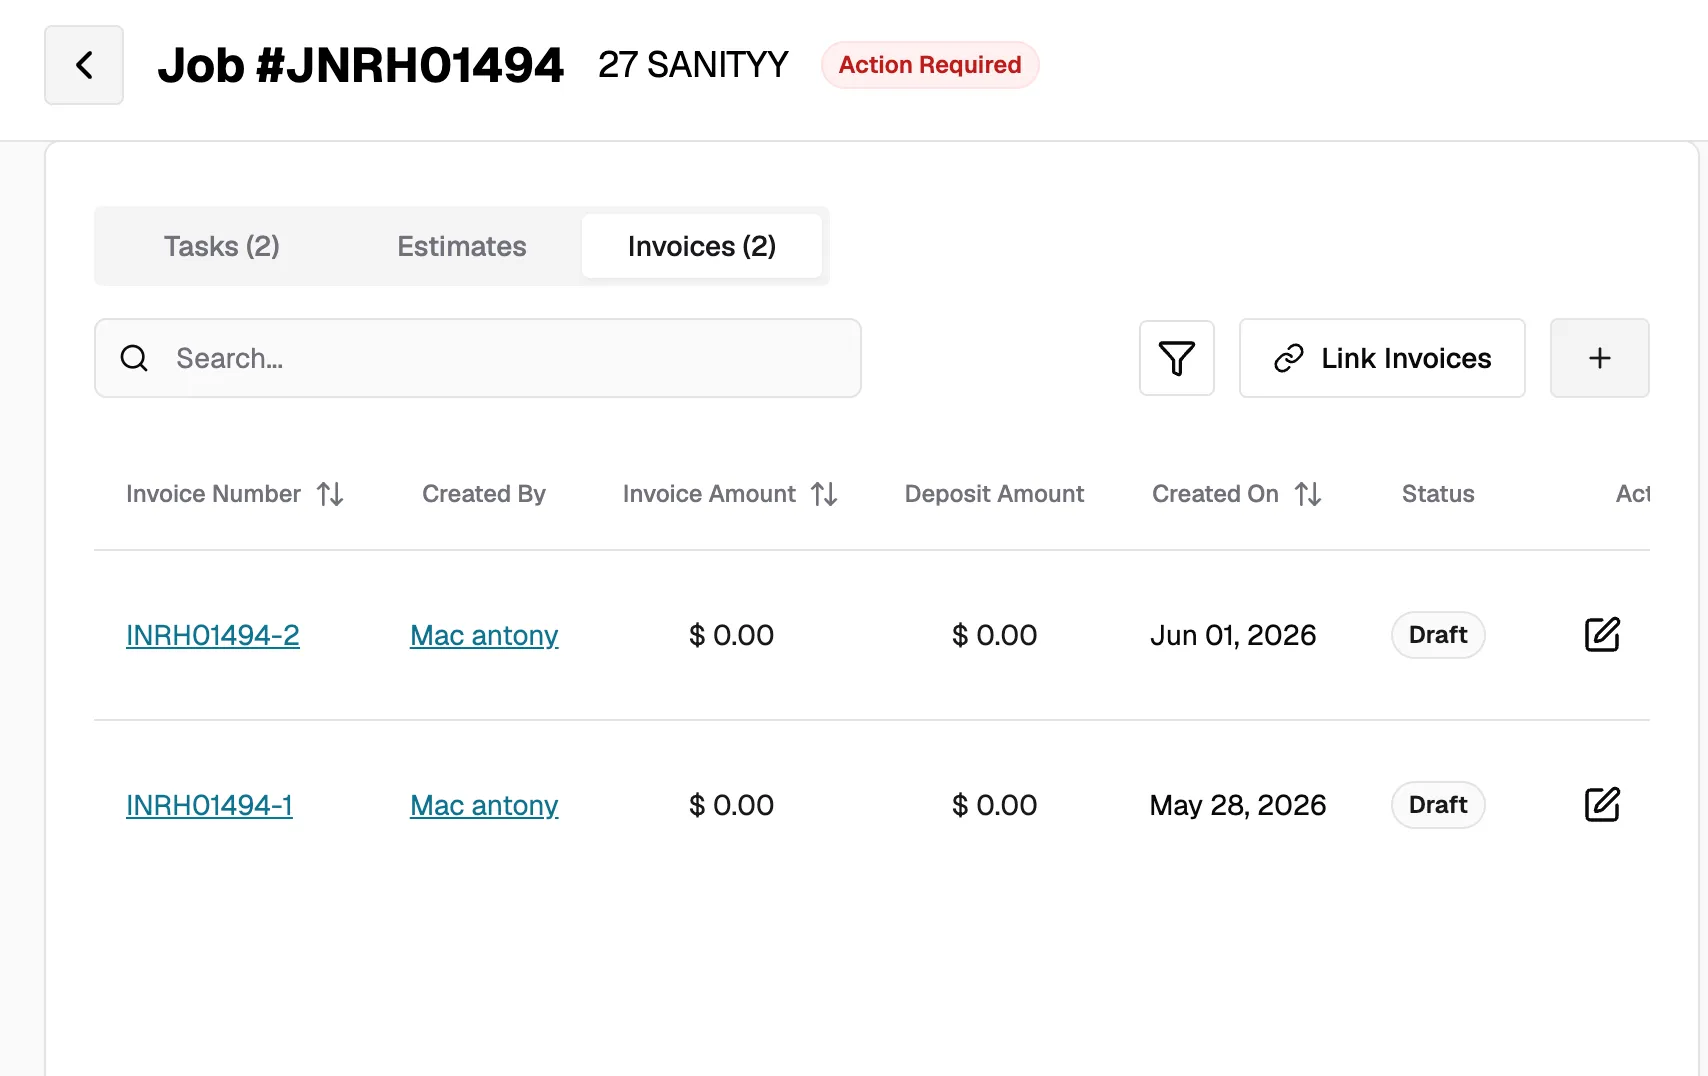
- Click the Invoices tab.
- Click the + button to create a new invoice.
- A Choose Invoice Details dialog opens with the customer name, job number, and job description pre-filled.
- Review the details and click Save and Go On to proceed to the invoice form.
From the Job Detail Header
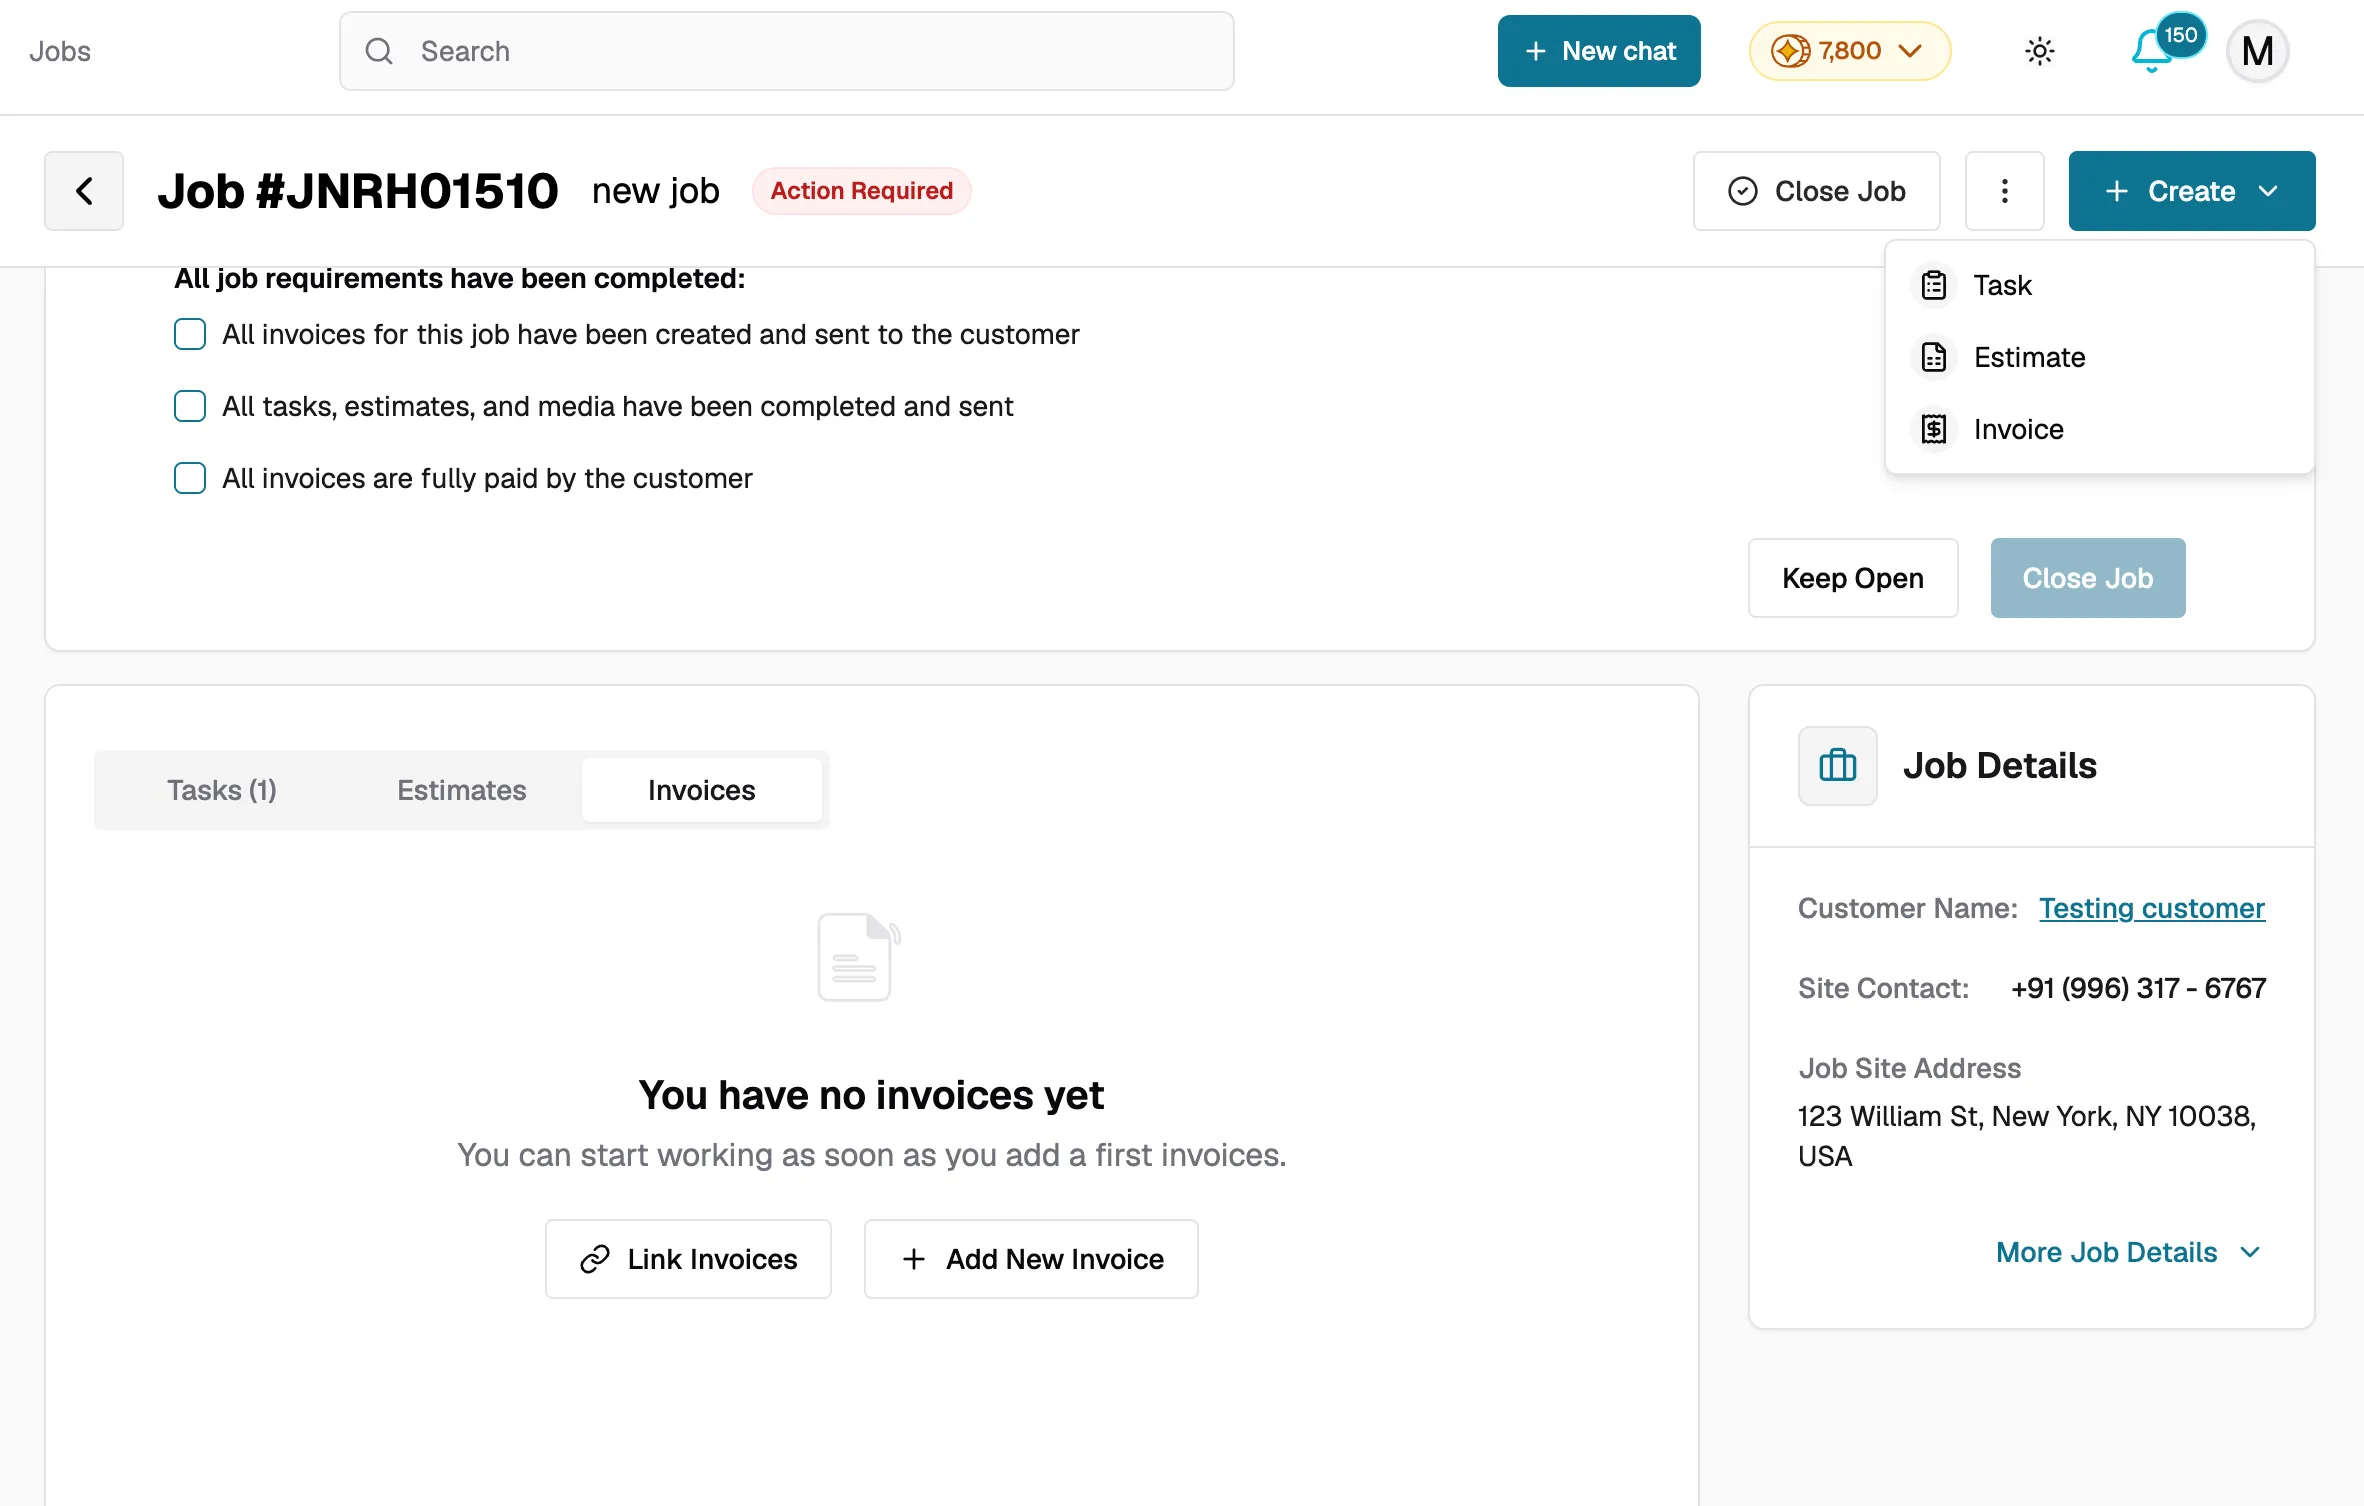
- Open the job detail page.
- Click the + Create button in the page header.
- Select Invoice from the dropdown.
- A Choose Invoice Details dialog opens with the customer and job details pre-filled.
- Review the details and click Save and Go On to proceed to the invoice form.
The Invoice Creation Process
The invoice form is laid out on a single page with four sections:
- Job & Customer Info: Review the linked job, customer name, and billing details. These are pre-filled from the job record.
- Products & Services: Add line items for the work being billed. Select from your price book and enter descriptions, quantities, rates, discounts, and tax percentages. The total calculates automatically.
- Terms: Set the invoice date, payment terms, due date, and any additional notes. You can also enable the option for the customer to cover the standard processing fee.
- Media & Documents: Upload images, videos, or documents related to the invoice.
You can save as a Draft at any point and return to it later. Once ready, proceed to the Review & Send page to preview and send the invoice to your customer.
Invoice statuses
Status | Meaning |
|---|---|
Draft | Invoice has been created but not yet sent to the customer. |
Open | Invoice has been sent to the customer and is awaiting payment. |
Paid | Payment has been received in full. |
Void | Invoice has been cancelled and is no longer active. |
Tips
- You can create multiple invoices for a single job for example, a deposit invoice followed by a final invoice.
- Invoices created from a job automatically link back to it, keeping all financials tracked in one place.
- Use the Download button to save a PDF copy of any invoice at any time.
- The Invoices tab on the job detail page shows a summary of all invoices linked to that job and their current statuses.