Your first day as a Super Admin
This guide covers the seven key tasks to complete on your first day from setting up your company profile and inviting your team to adding your first customer and job. Completing these steps ensures Swivl is configured and ready for your team to use from day one.
Overview
As the Super Admin, you have full control over your Swivl account, from managing users and settings to creating jobs and tracking your team. Use this checklist to get everything set up before your team's first day.
Who can access this
- Super Admins
Your day-one checklist
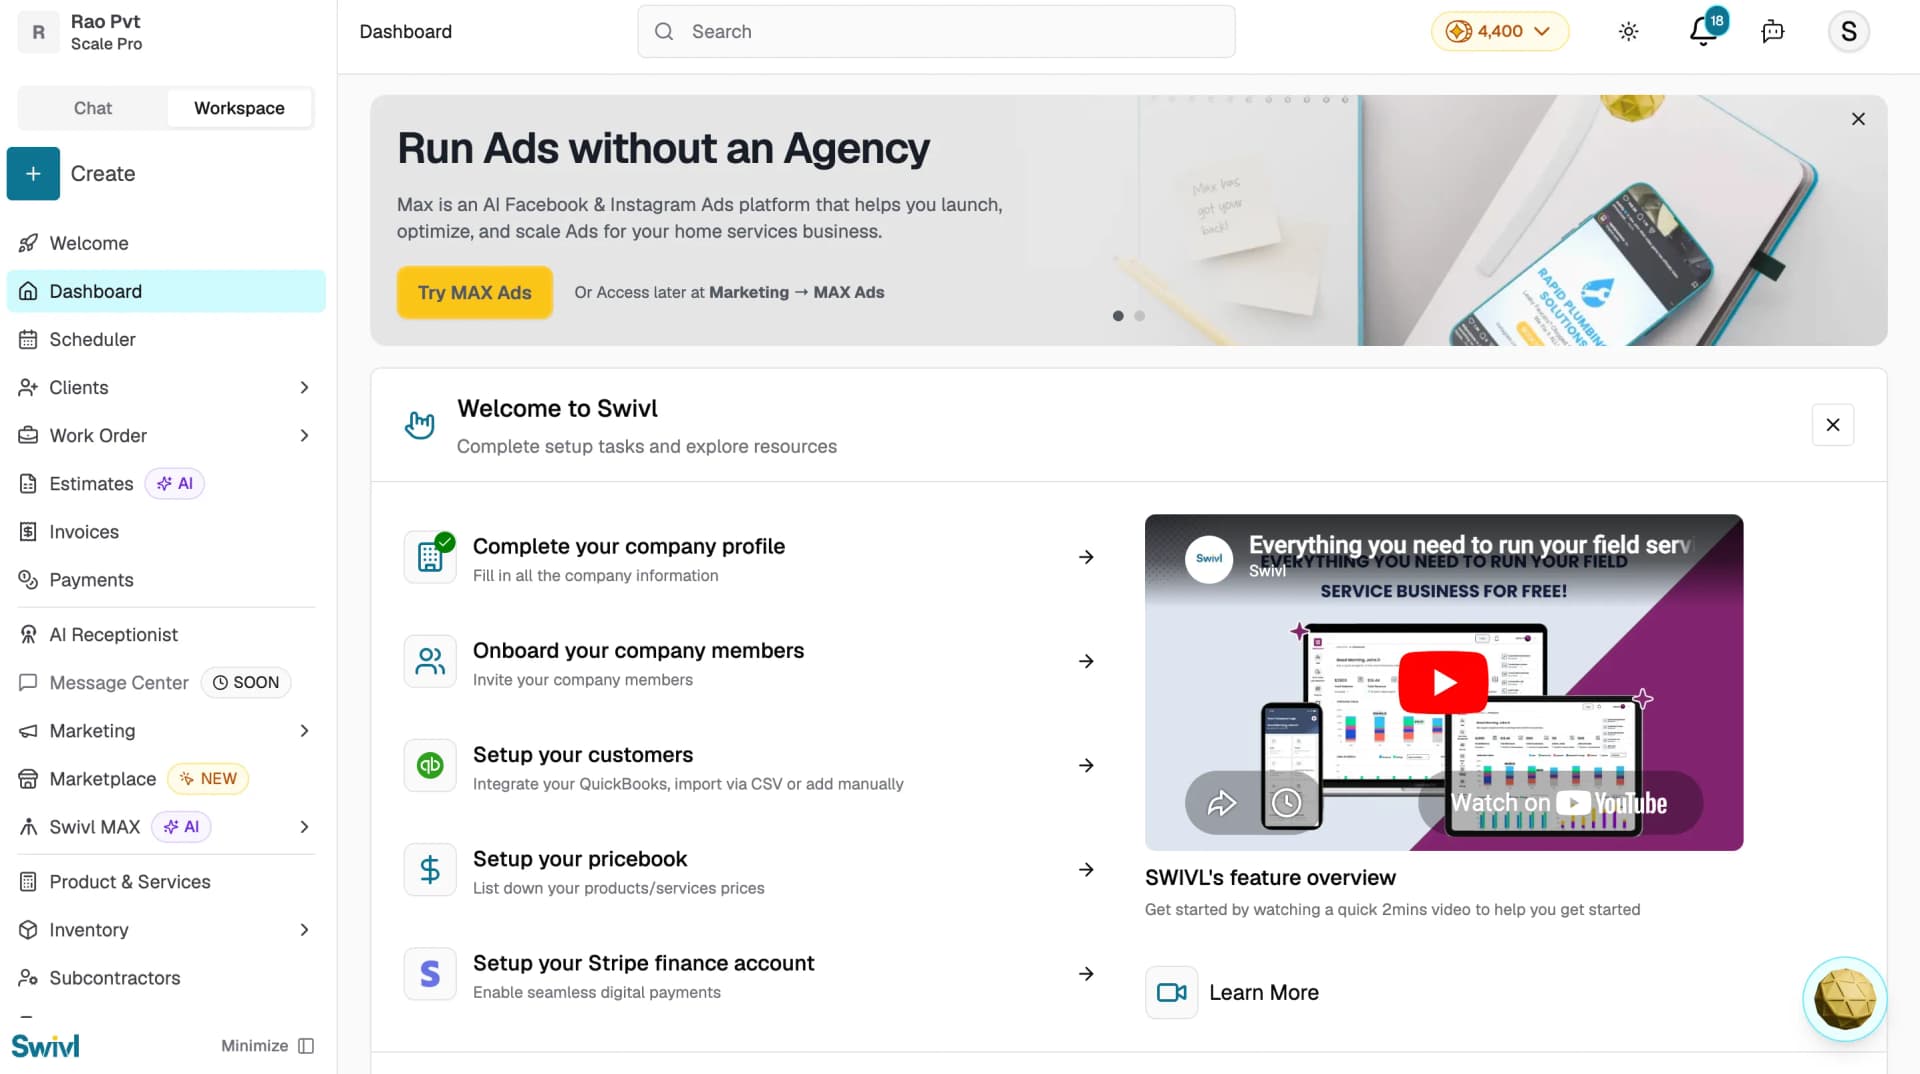
1. Review your Dashboard
After completing the onboarding wizard, your Dashboard is your home base. It gives you an overview of activity across your account jobs in progress, upcoming tasks, and key business metrics. Take a moment to familiarise yourself with the layout.
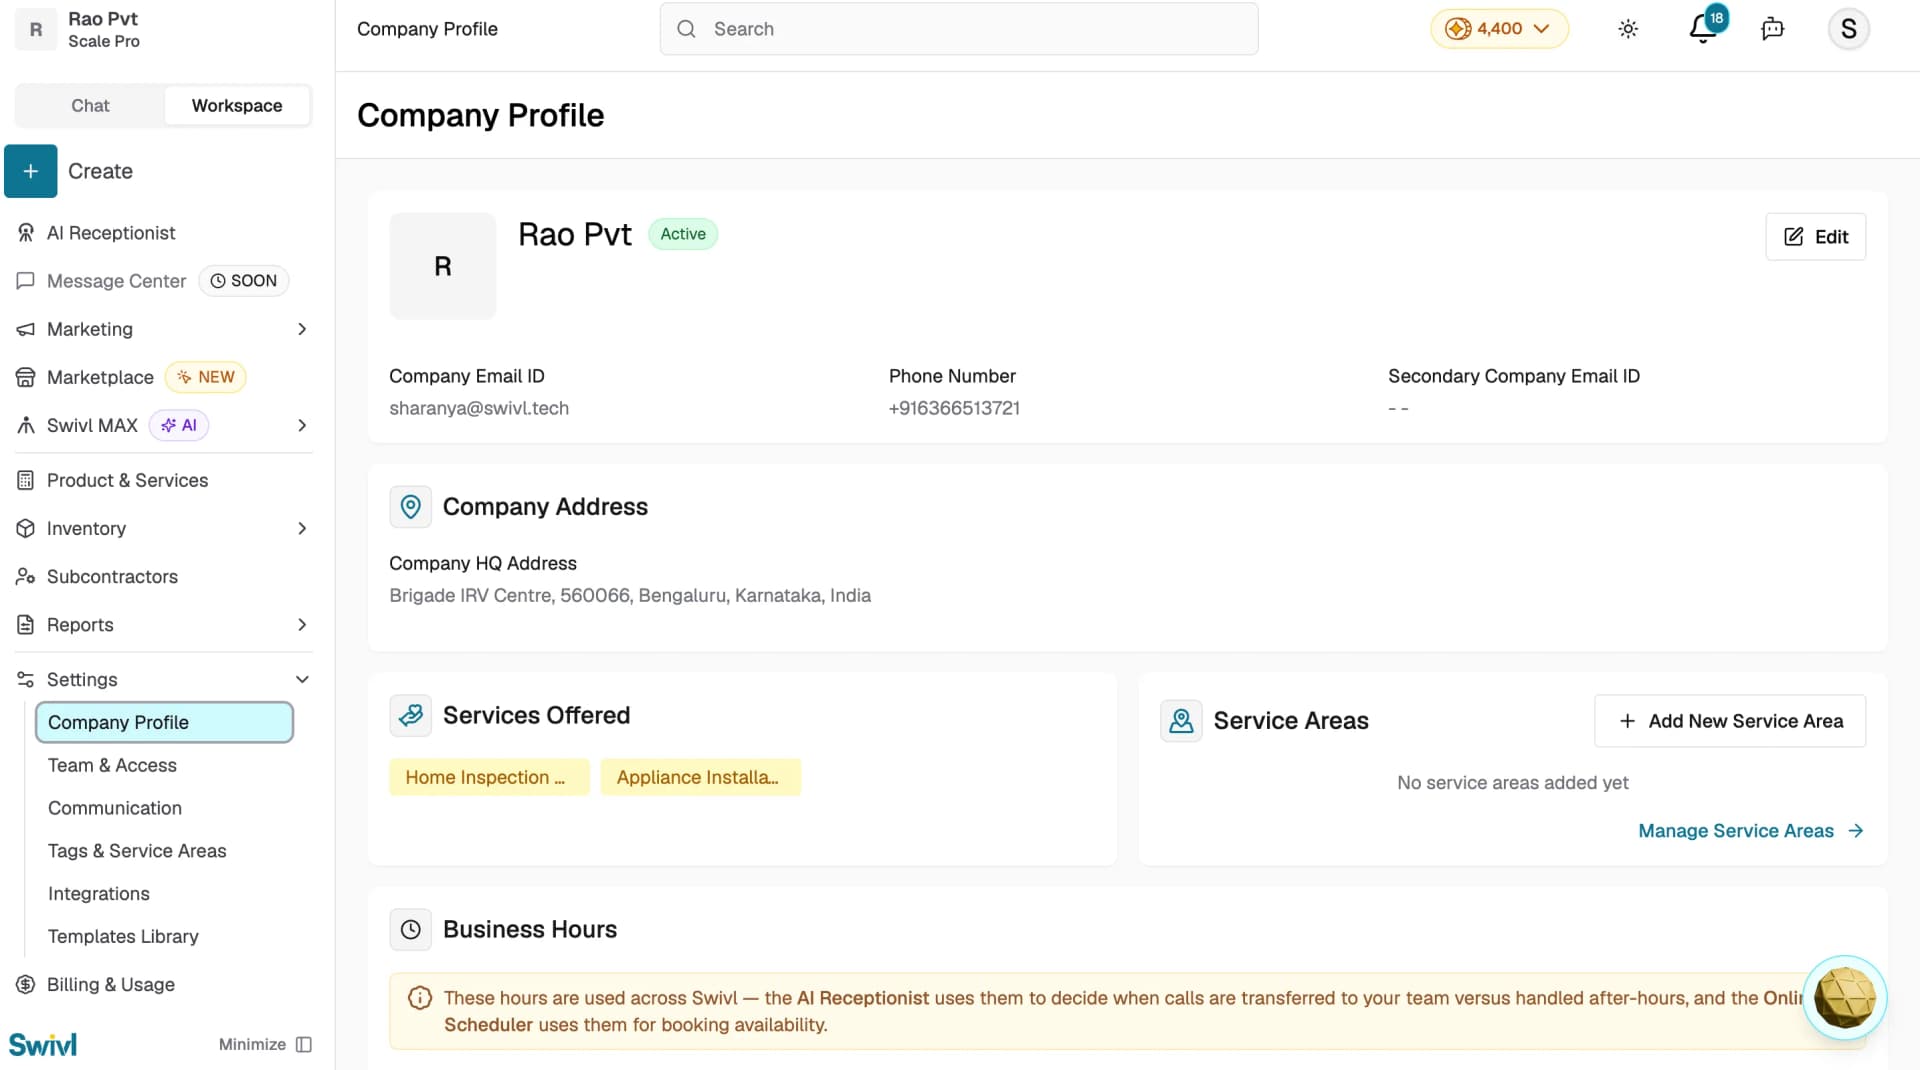
2. Complete your Company Profile
Go to Settings → Company Profile to review and fill in any details not covered during onboarding including your company logo, business hours, services offered, and contact information. Your company profile appears on estimates, invoices, and customer-facing communications.
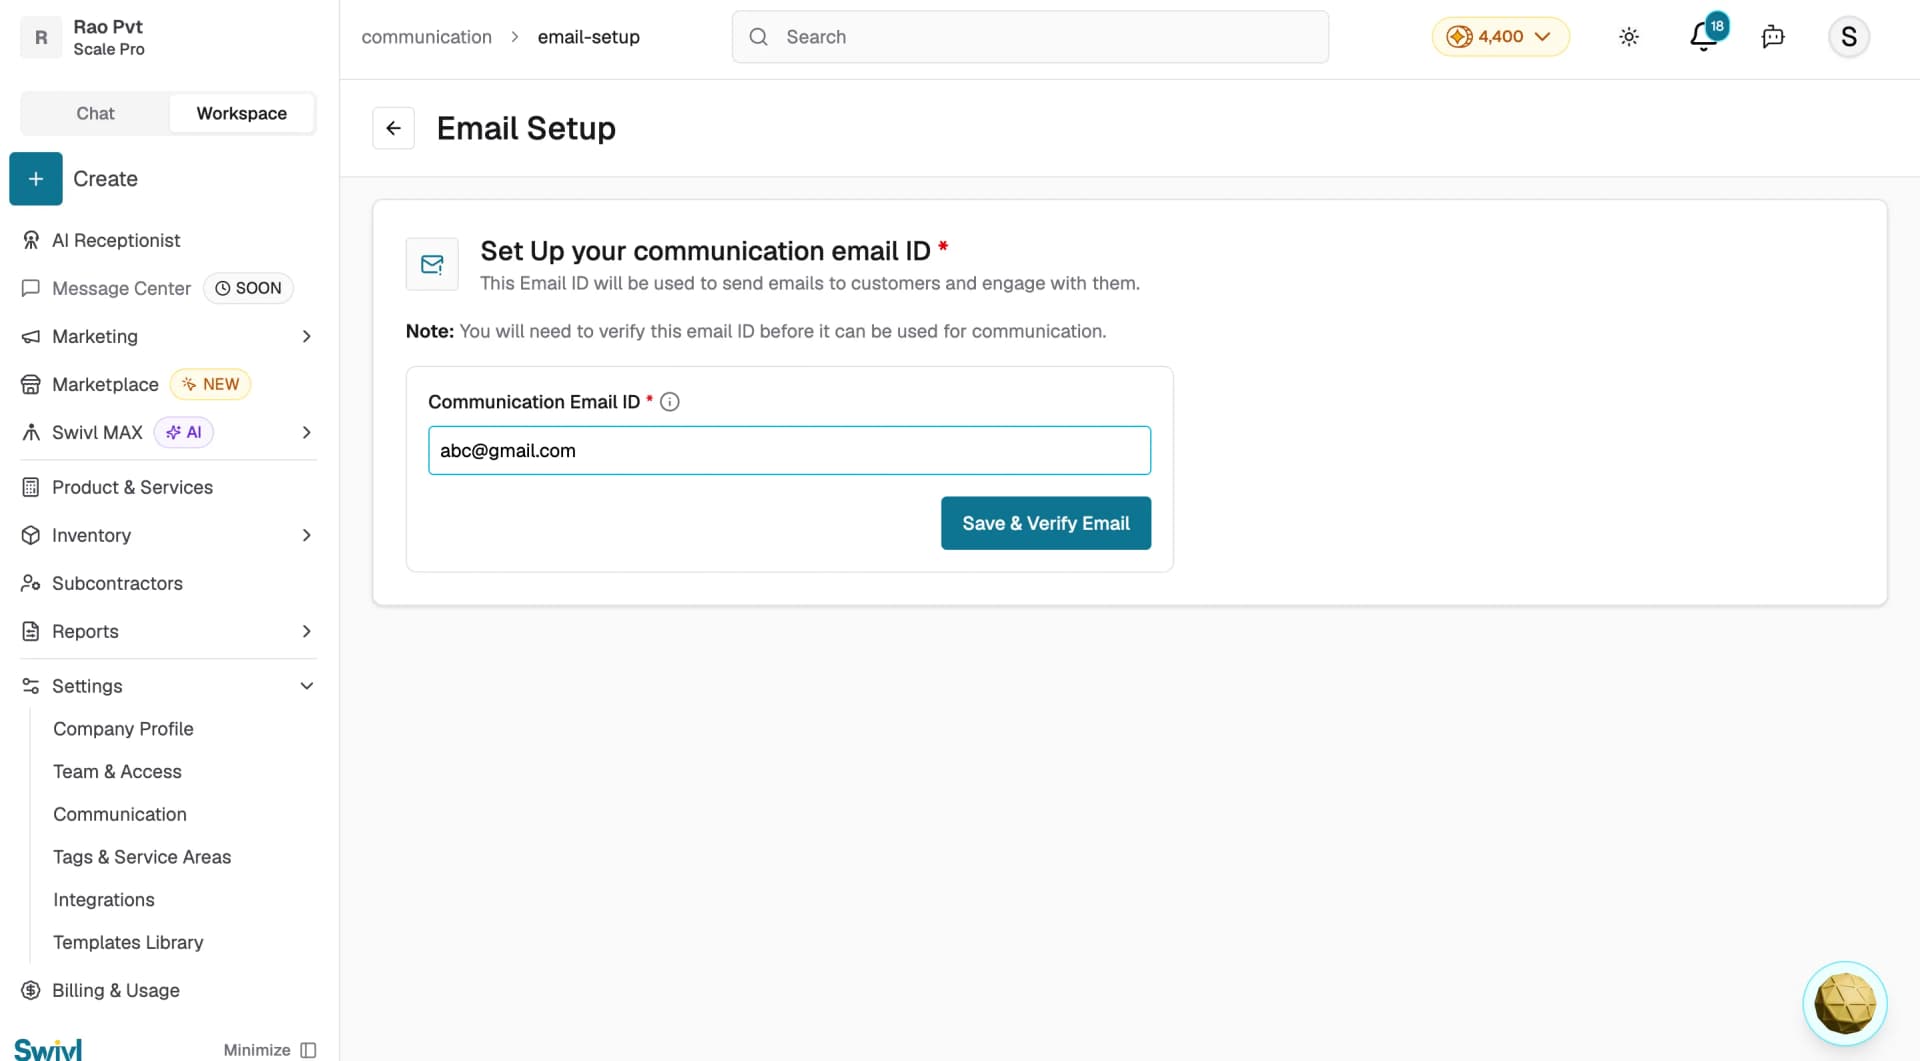
3. Set up your Communication Email
Go to Settings → Communication and click Email Setup. Enter your Communication Email ID and click Save & Verify Email. You will need to verify this email address before it can be used to send estimates, invoices, and other customer communications from Swivl.
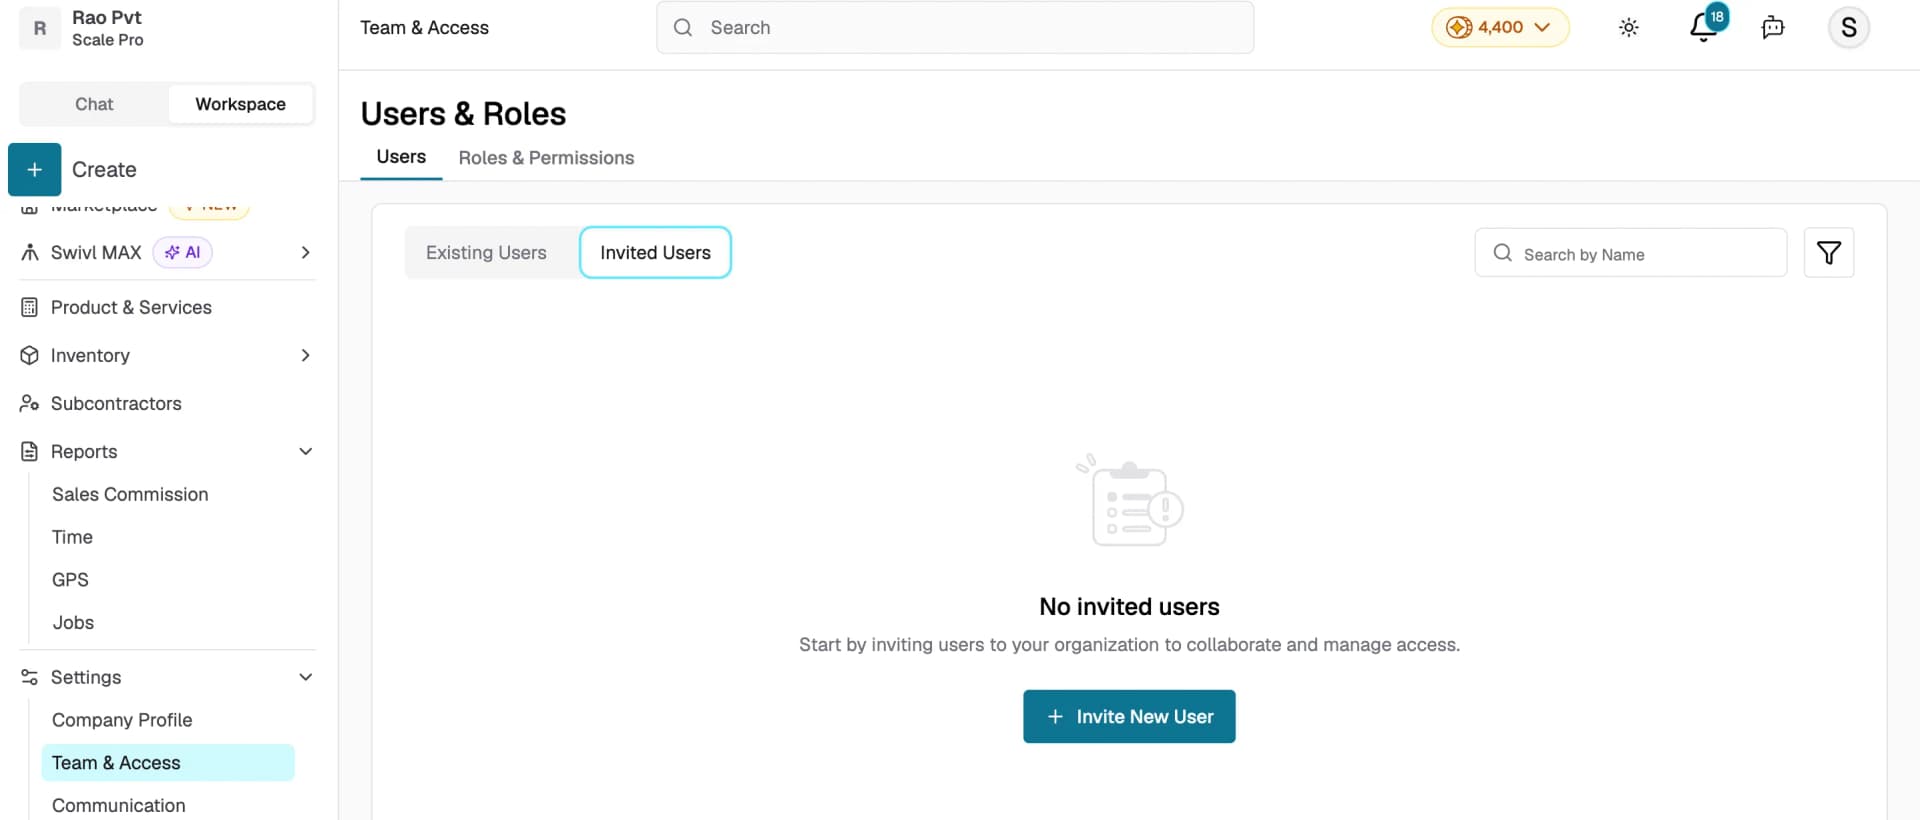
4. Invite your team
Go to Settings → Team & Access to open the Users & Roles page. Click + Invite New User to invite team members. Assign each person one of four roles like Super Admin, Admin, Lead Technician, or Technician depending on their responsibilities. Each invited user receives an email with a link to set up their account.
You can track pending invitations under the Invited Users tab.

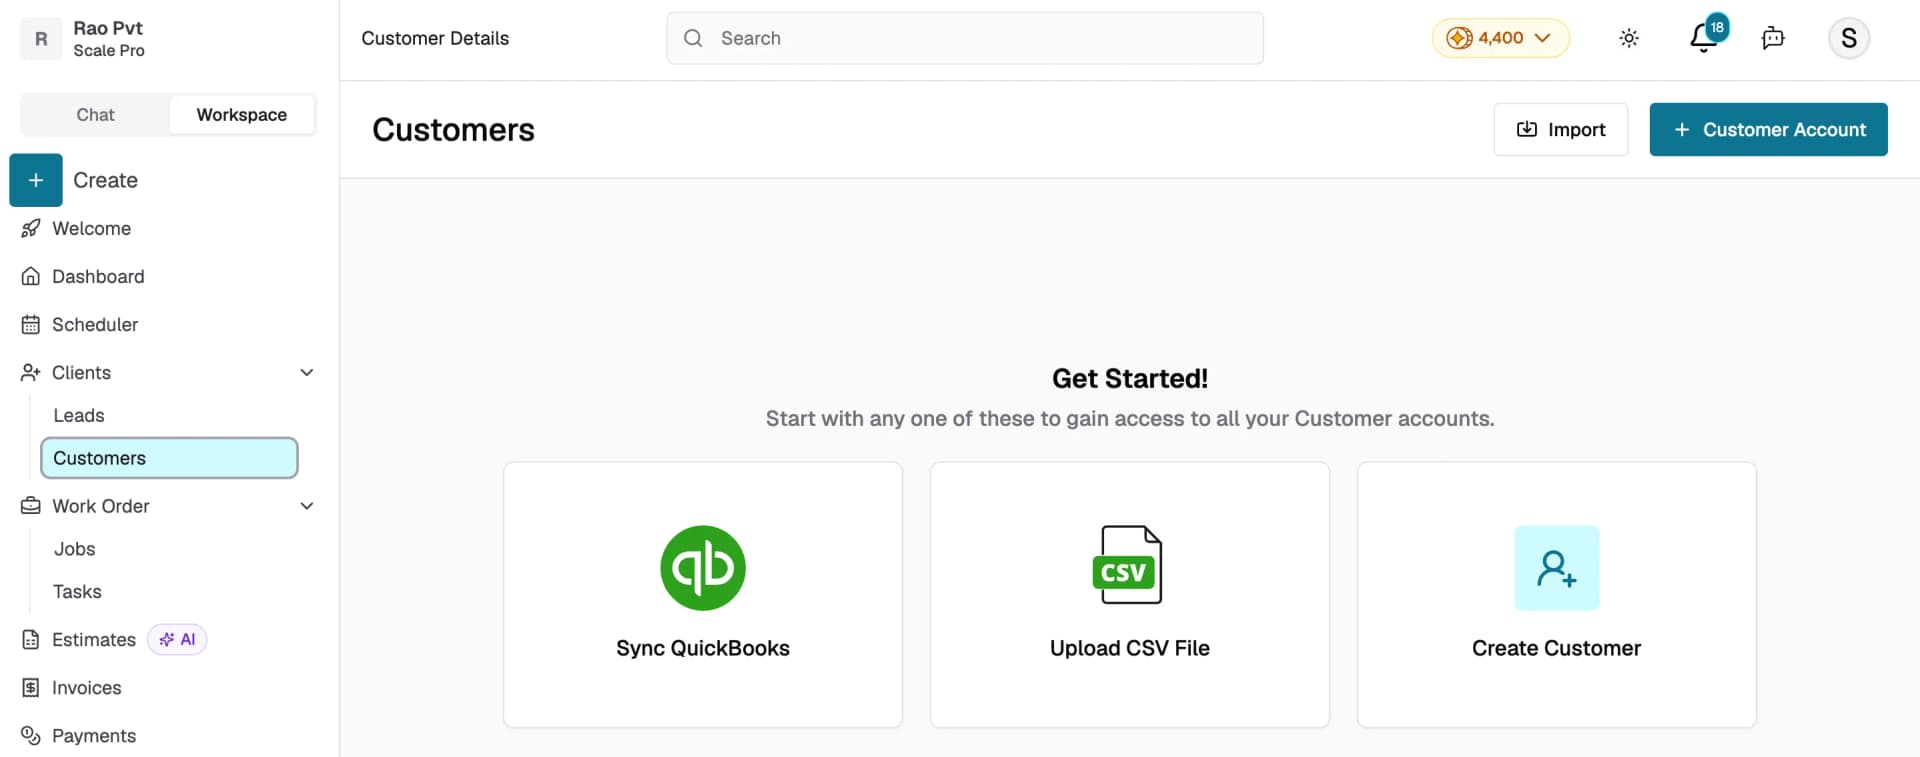
5. Add your first customer
Go to Clients → Customers in the sidebar. You can add customers in three ways click
- + Customer Account to create one manually
- Upload CSV File to import in bulk
- Sync QuickBooks
to import from your QuickBooks account.
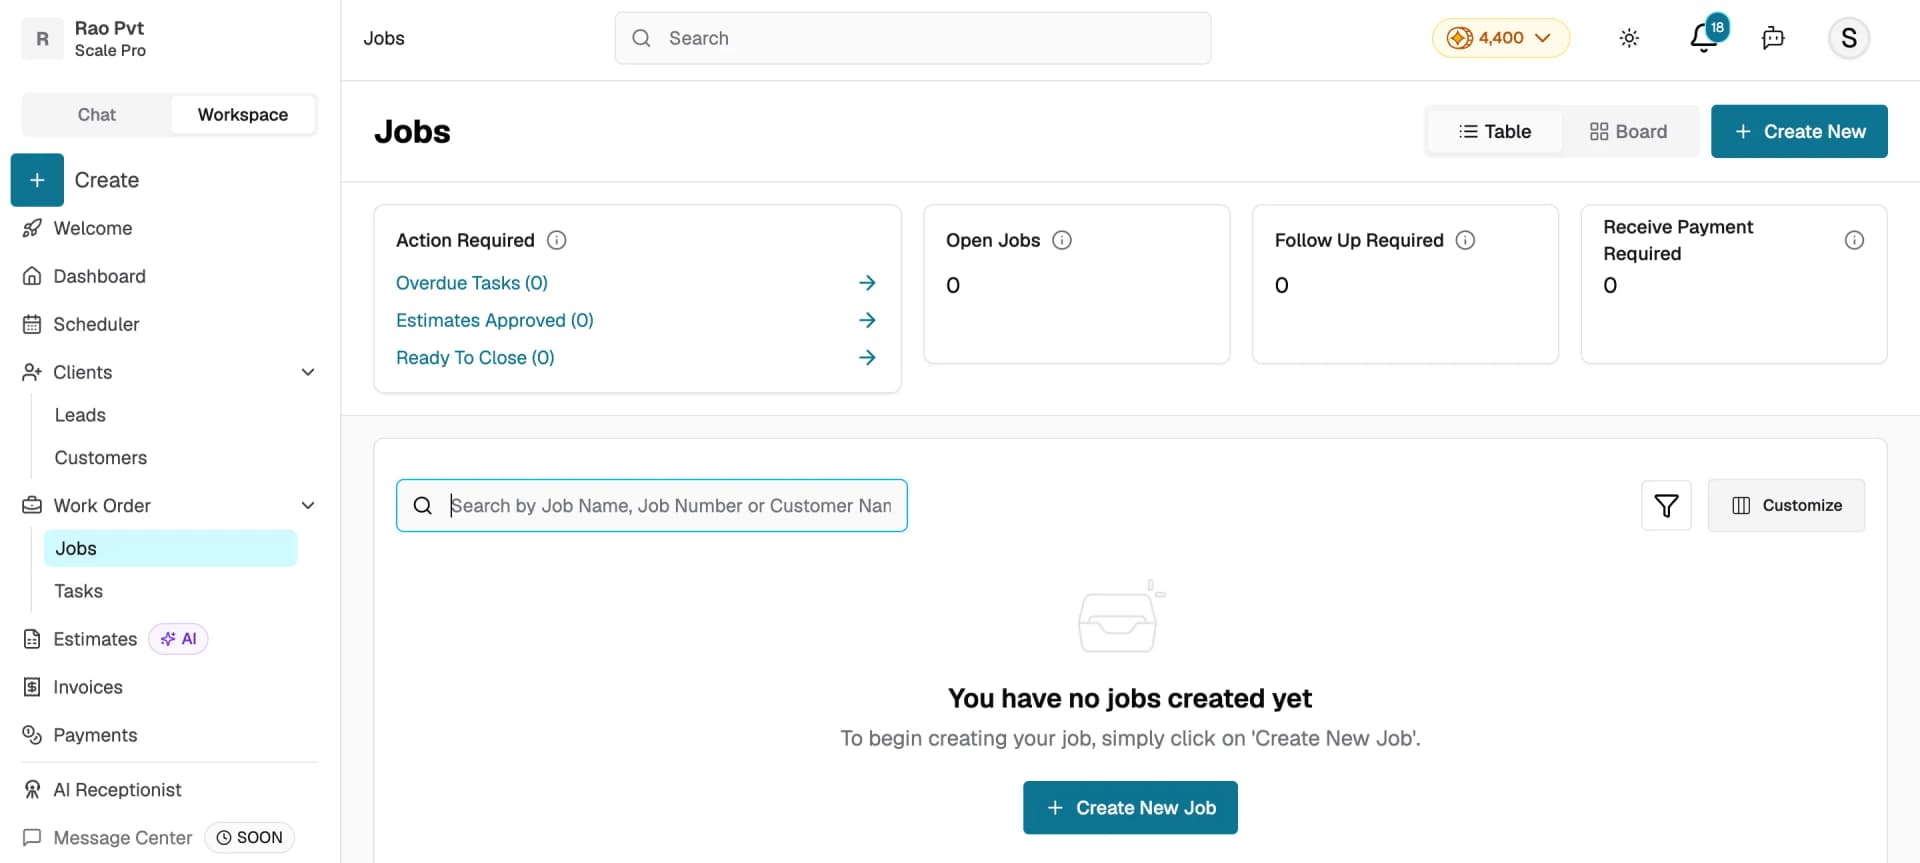
6. Create your first job
Go to Work Order → Jobs and click + Create New to create a new job. Link it to the customer you just added, describe the work, and assign it to a team member. You can also schedule tasks within the job and dispatch them from the Task Scheduler.
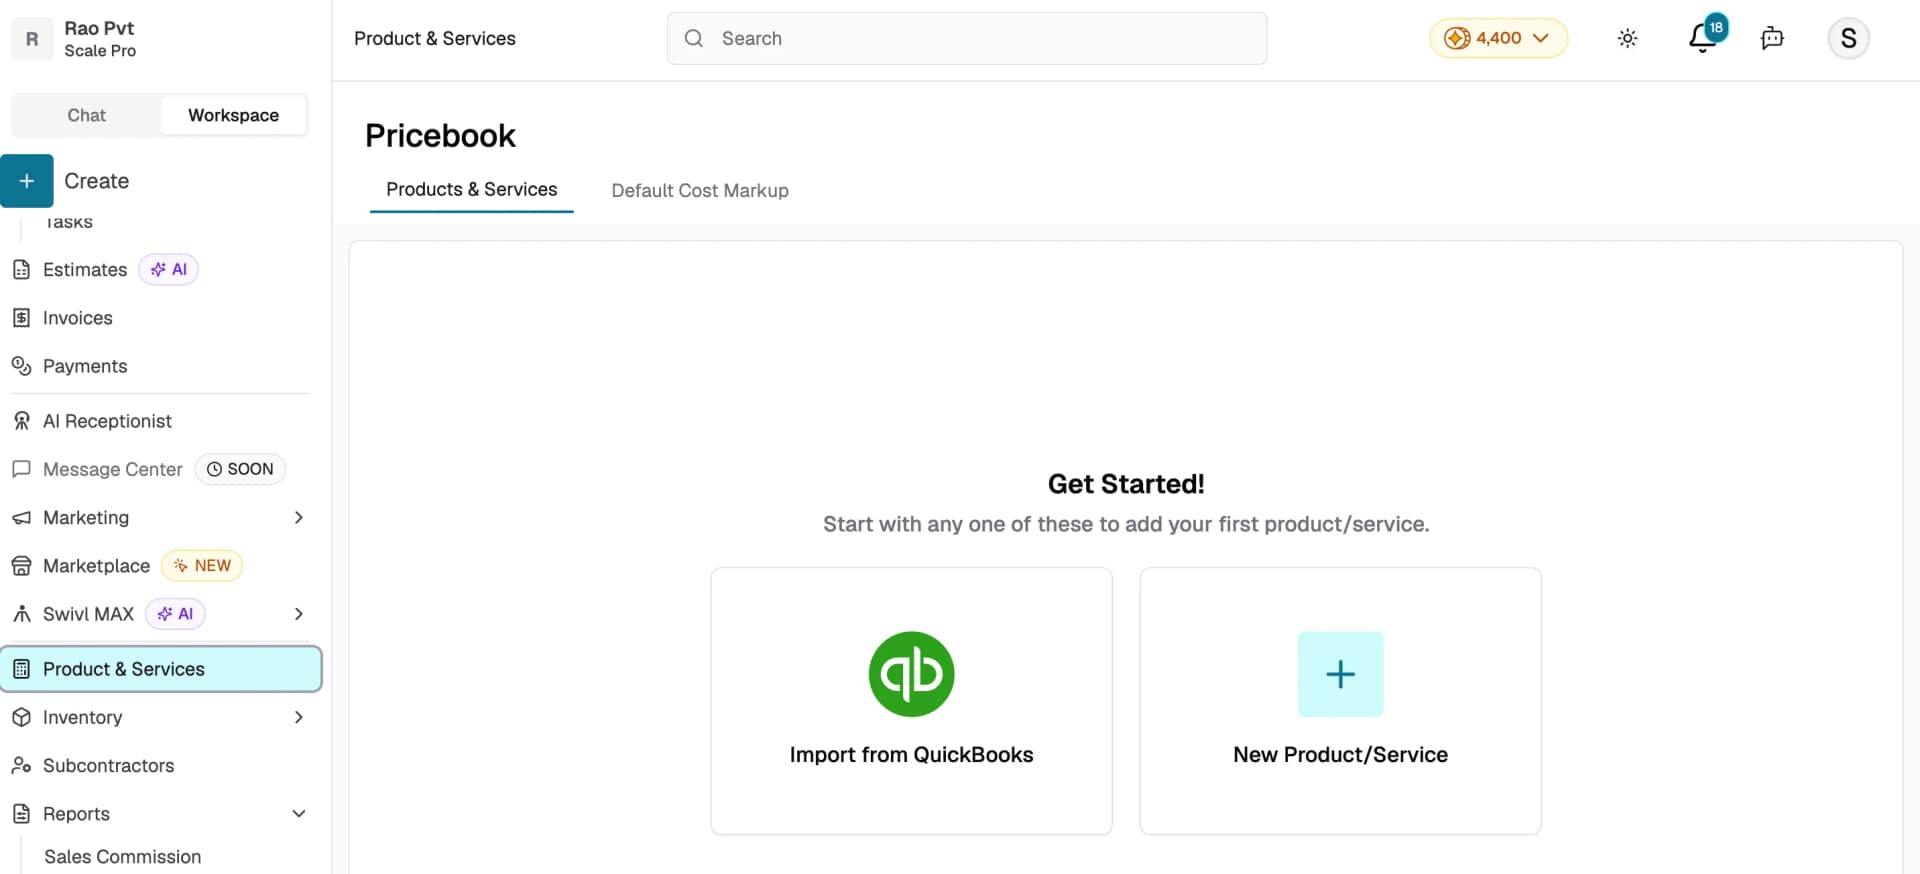
7. Set up your Price Book
Go to Product & Services in the sidebar to open the Pricebook. Add your services and pricing manually by clicking New Product/Service, or import them directly from QuickBooks using Import from QuickBooks. A well-maintained Pricebook speeds up estimate and invoice creation later.
Conclusion
Once you have completed these steps, Swivl is ready for your team to use. From here, explore the rest of the settings, set up your integrations, and start dispatching jobs. If you need help at any point, use the Help Assistant at the top of the page or visit the docs.
Tips
- Use the + Create button at the top of the sidebar to quickly add a new customer, job, task, estimate, or invoice from anywhere in the app.
- Check Billing & Usage in the sidebar to review your current plan and upgrade if needed.
- Enable GPS tracking under Reports → GPS for real-time visibility into technician locations.