Customers overview
Manage all your customer accounts in one place view, search, filter, and take action on every customer relationship your business has.
Overview
The Customers page is your central hub for managing all customer accounts in Swivl. From here you can view, search, filter, and take action on every customer relationship whether that is creating a job, sending an invoice, or looking up contact details.
Who can access this
Role | Access / Permissions |
|---|---|
Super Admin | Full access to view, create, edit, and delete customers |
Admin | Full access (same as Super Admin) |
Lead Technician | View-only access |
Technician | View-only access |
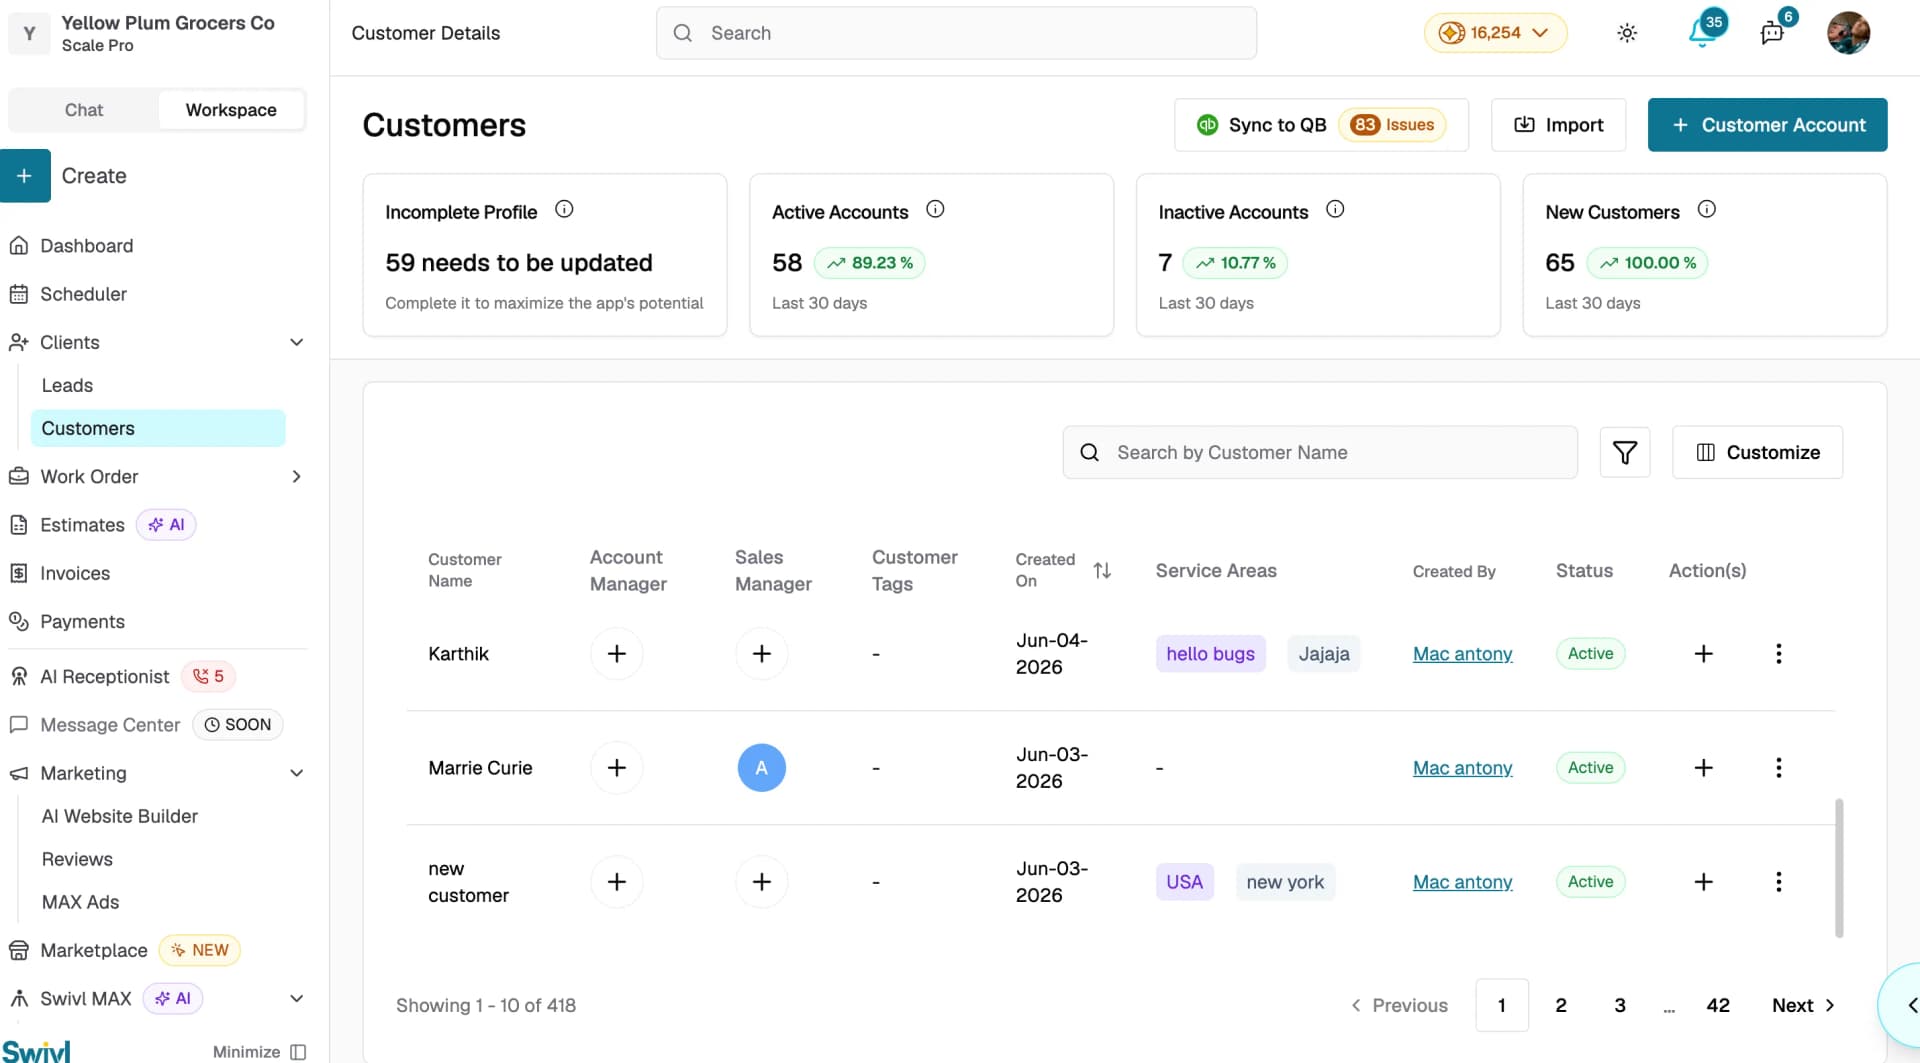
What you'll see on the Customers page
Navigate to Clients → Customers from the left sidebar. The page is divided into two main areas summary cards at the top and the customer table below.
Summary cards
At the top of the page four cards give you a quick snapshot of your customer base:
- Incomplete Profile: the number of accounts missing required information. Completing these helps you get the most out of Swivl
- Active Accounts: the count of currently active customers with a 30-day trend indicator
- Inactive Accounts: the count of deactivated or dormant customers with a 30-day trend indicator
- New Customers: how many customer accounts were added in the last 30 days with a trend indicator
Customer table
Below the summary cards is a sortable, searchable table listing all your customers. Each row shows:
- Customer Name: click to open the full customer profile
- Account Manager and Sales Manager: the team members assigned to the account
- Customer Tags: colour-coded labels applied for organisation
- Created On: the date the customer was created (sortable)
- Created By: the user who created the customer record
- Service Areas: the zones or regions this customer falls under
- Status: Active or Inactive
- Actions: quick action buttons
Searching and filtering
- Use the Search by Customer Name bar to find customers by name
- Click the Filter icon to narrow results by Status, Tags, Service Area, Sales Manager, Account Manager, Created On date range, or Created By user
- Click the Customise button to show or hide columns and tailor the table to your workflow
- Click any sortable column header such as Created On to sort the table in ascending or descending order
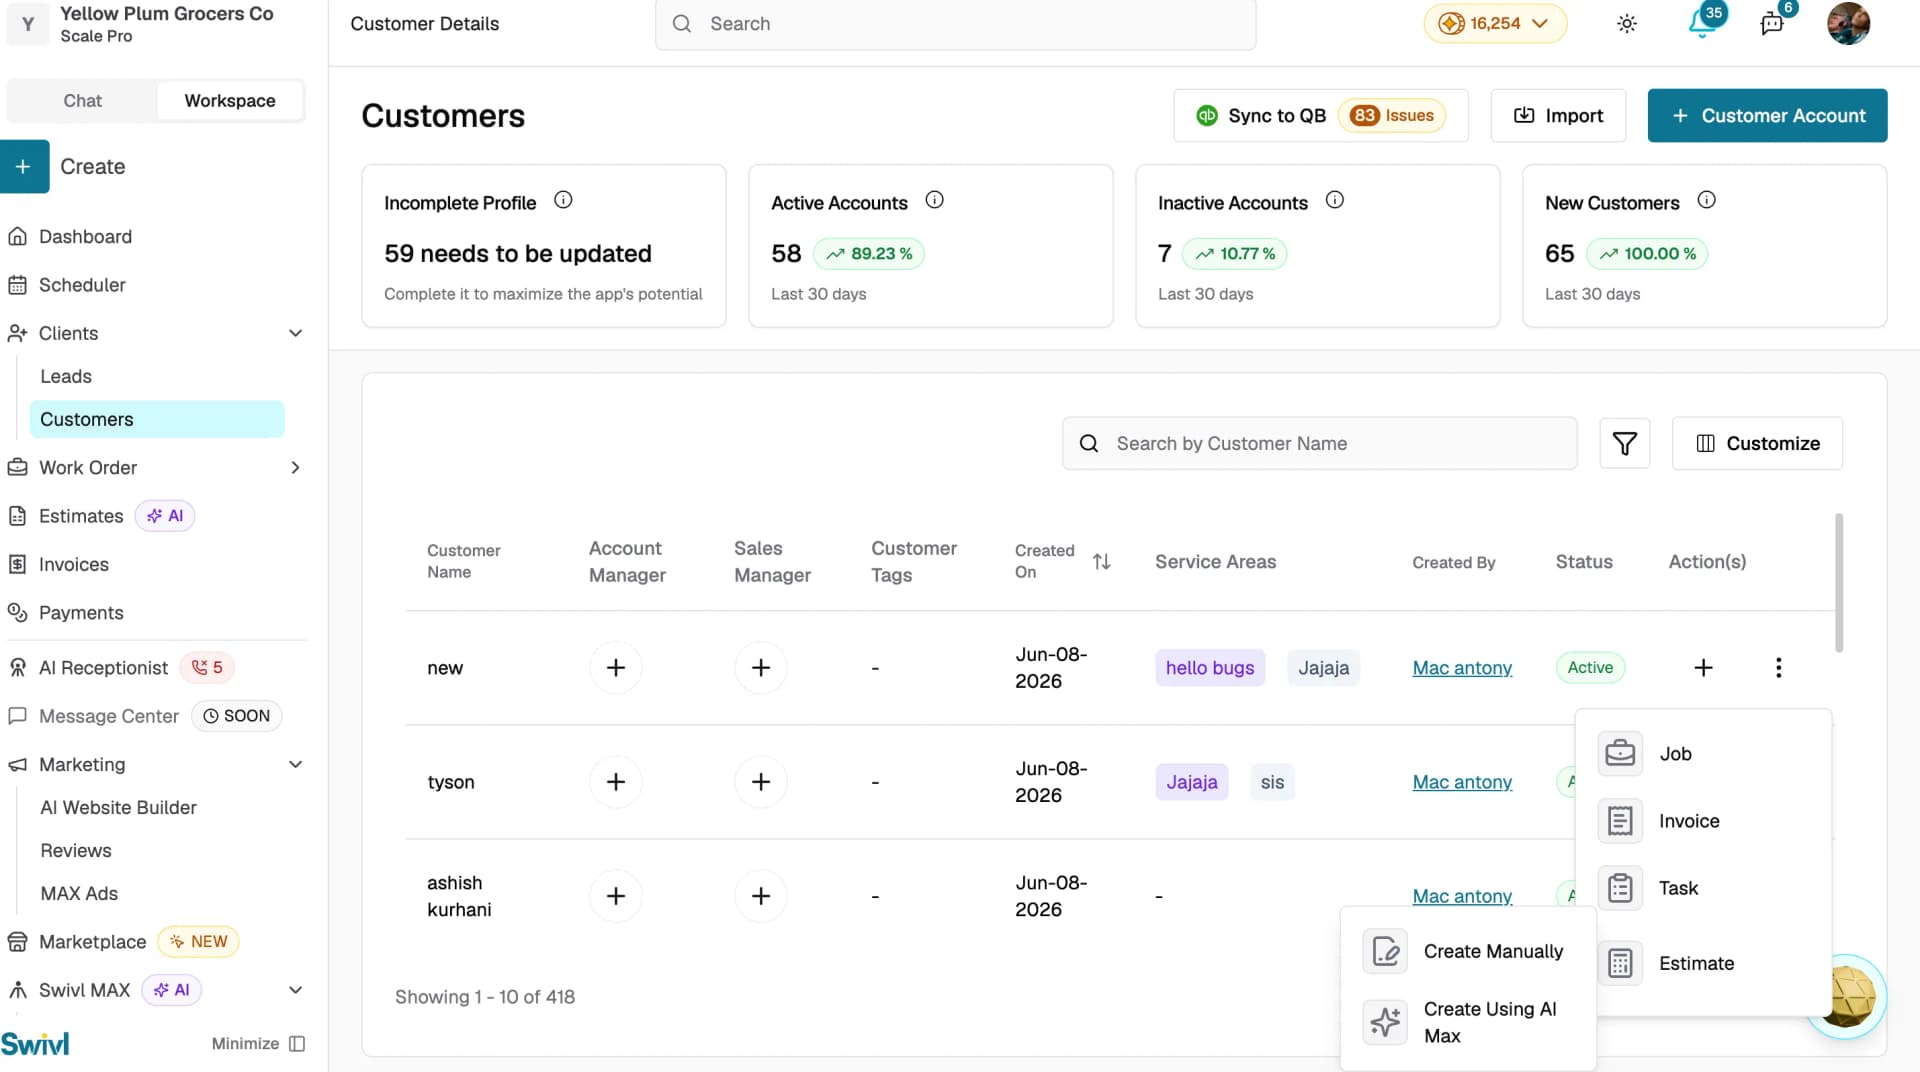
Quick actions from the table
Each customer row has two action buttons in the Action(s) column:
- + button: opens a menu to create a Job, Invoice, Task, or Estimate directly linked to that customer. Selecting Estimate opens a submenu with Create Manually or Create Using AI Max
- Three-dot button: opens a menu with Edit to update the customer details and Delete to remove the customer account. The Delete option is hidden for inactive customers
Importing customers in bulk
If you have an existing customer list, click Import at the top of the page to upload a CSV file. Download the provided template to make sure your data maps correctly. The maximum file size is 20 MB.
Tips
- Use Tags and Service Areas together to quickly segment your customer base for example, "Commercial" customers in the "Downtown" zone
- Keep an eye on the Incomplete Profile card and fill in missing details early to avoid issues when creating jobs or invoices
- Use the Customise button to show or hide columns and tailor the table to your workflow
- Use Sync to QB to keep your customer records aligned with QuickBooks