
How Swivl Organizes Work: Jobs, Tasks, Estimates & Invoices
Learn how Jobs, Tasks, Estimates, and Invoices work together in Swivl, from creating a job and scheduling tasks to quoting and billing customers.
Swivl organizes your service work around four core records: Jobs, Tasks, Estimates, and Invoices. Understanding how they work together makes it easier to manage a customer's work, from scheduling and assigning technicians to quoting and billing.
How everything fits together
A typical workflow in Swivl looks like:
Job → Tasks → Estimate → Invoice
Each serves a different purpose.
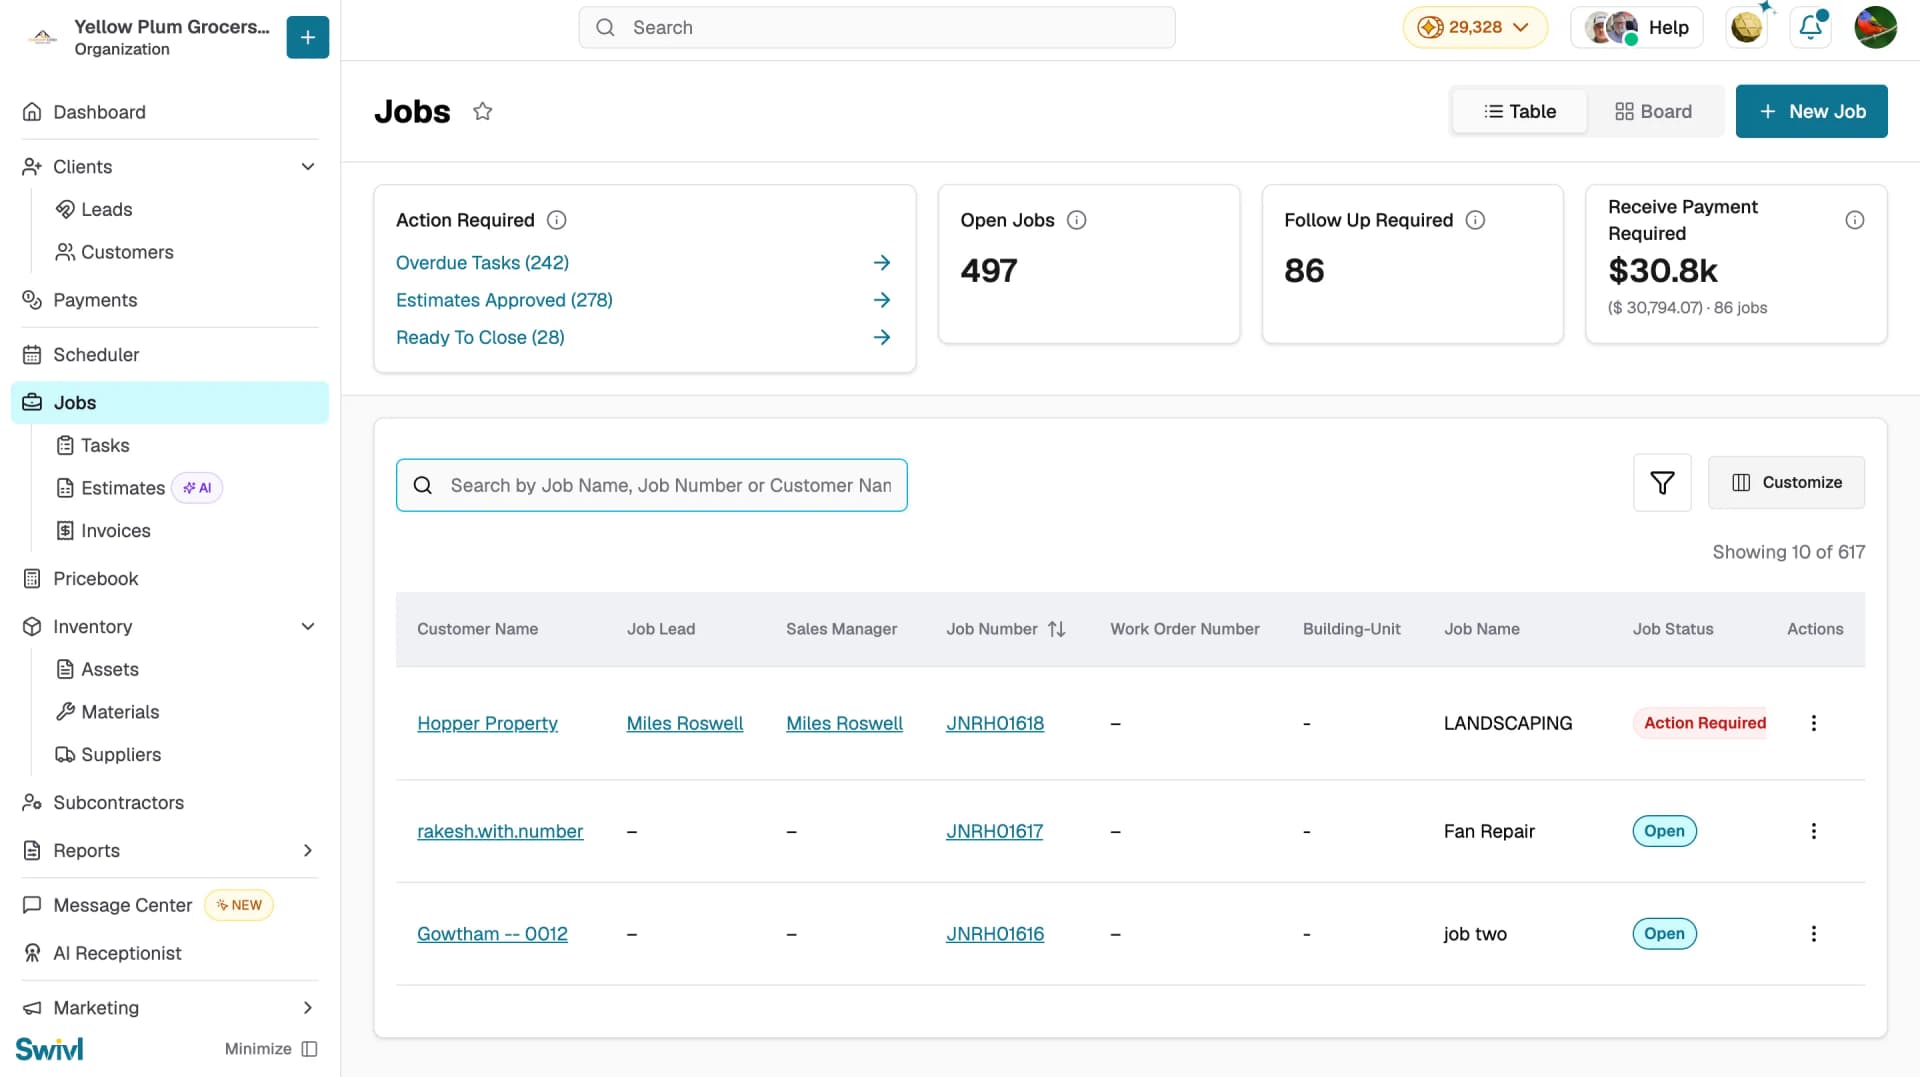
Job
A Job is the main record for the work you perform for a customer. It keeps the different parts of the work connected, including tasks, estimates, invoices, notes, and other job-related information.
For example: Water heater replacement at 42 Oak St.
A job can contain multiple tasks when the work requires more than one visit or stage.
Task
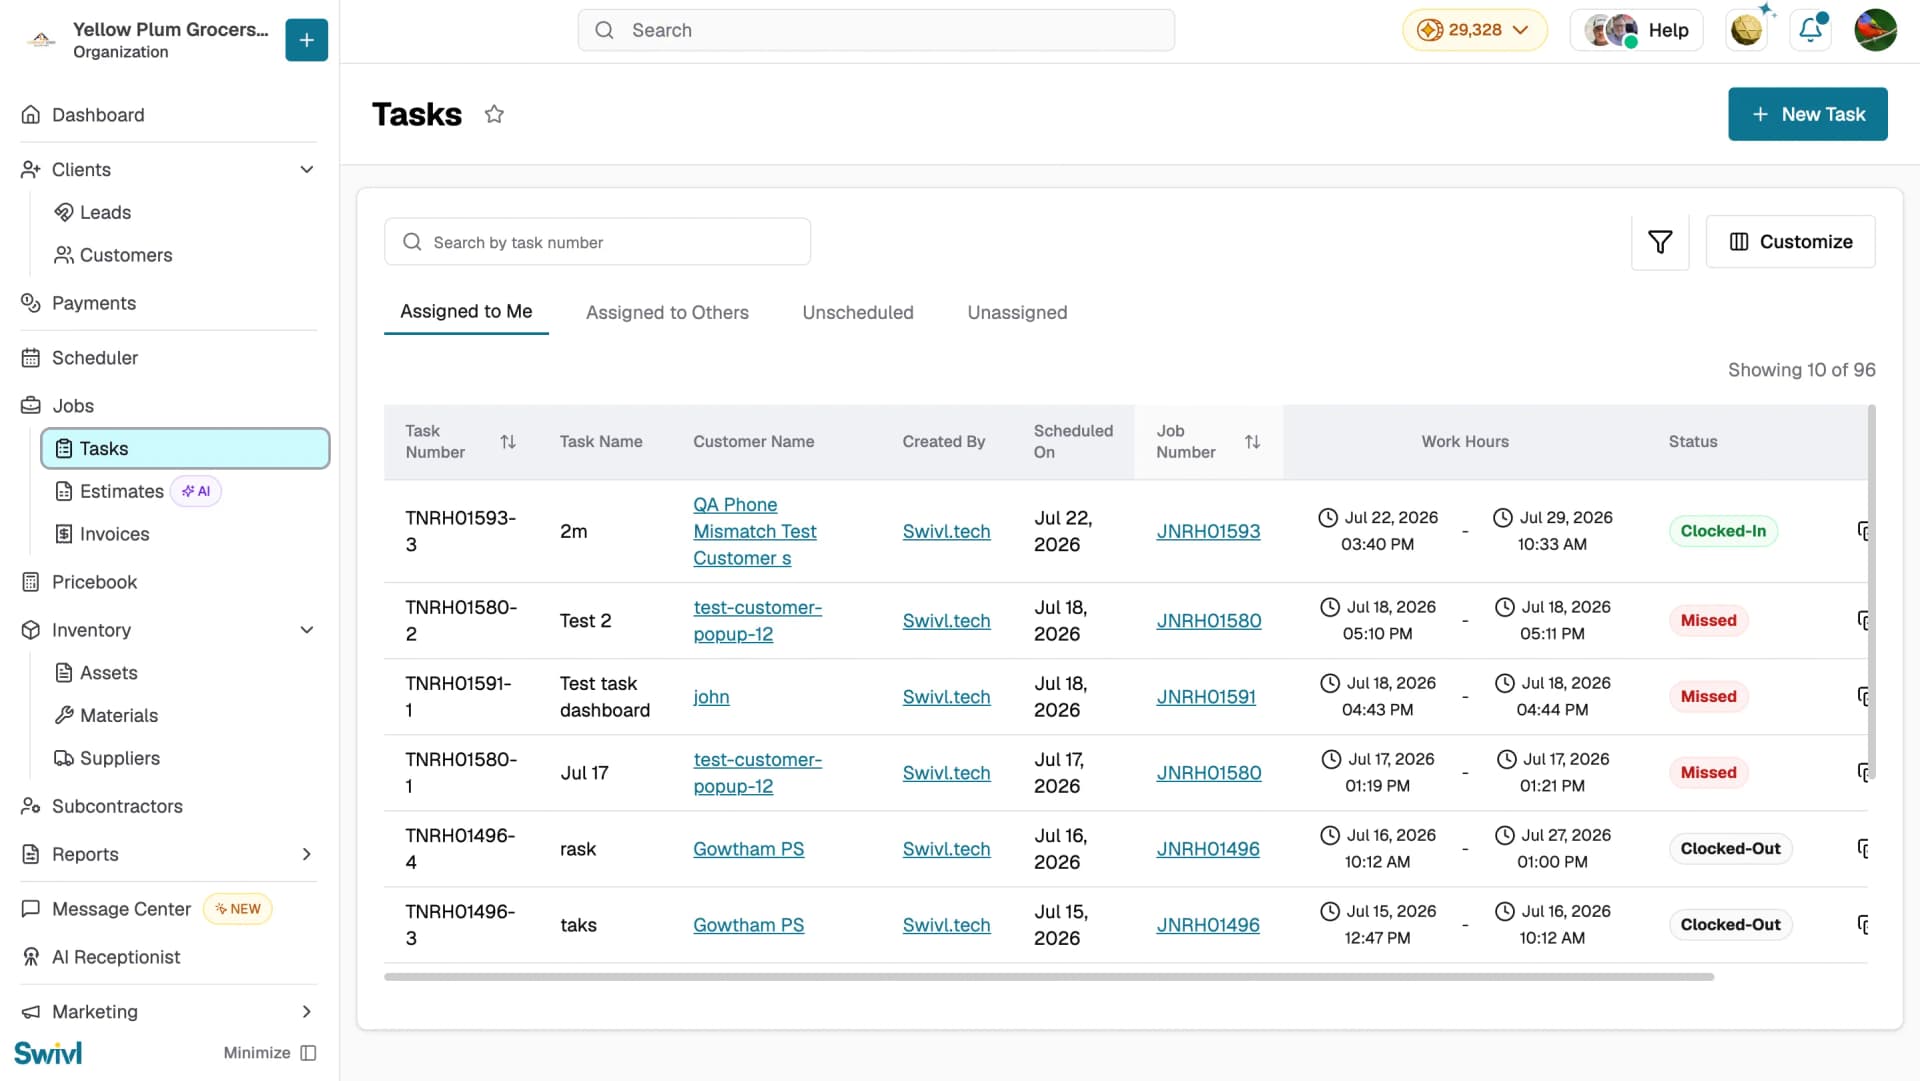
A Task is a specific piece of work that needs to be completed for a job. For example, a water heater replacement job could include:
- Initial inspection
- Water heater installation
- Final inspection
Tasks can be scheduled and assigned to technicians. You can view and manage them from Jobs → Tasks or through the Scheduler.
Each task remains connected to its job, helping you keep individual visits organized under the overall work.
Estimate
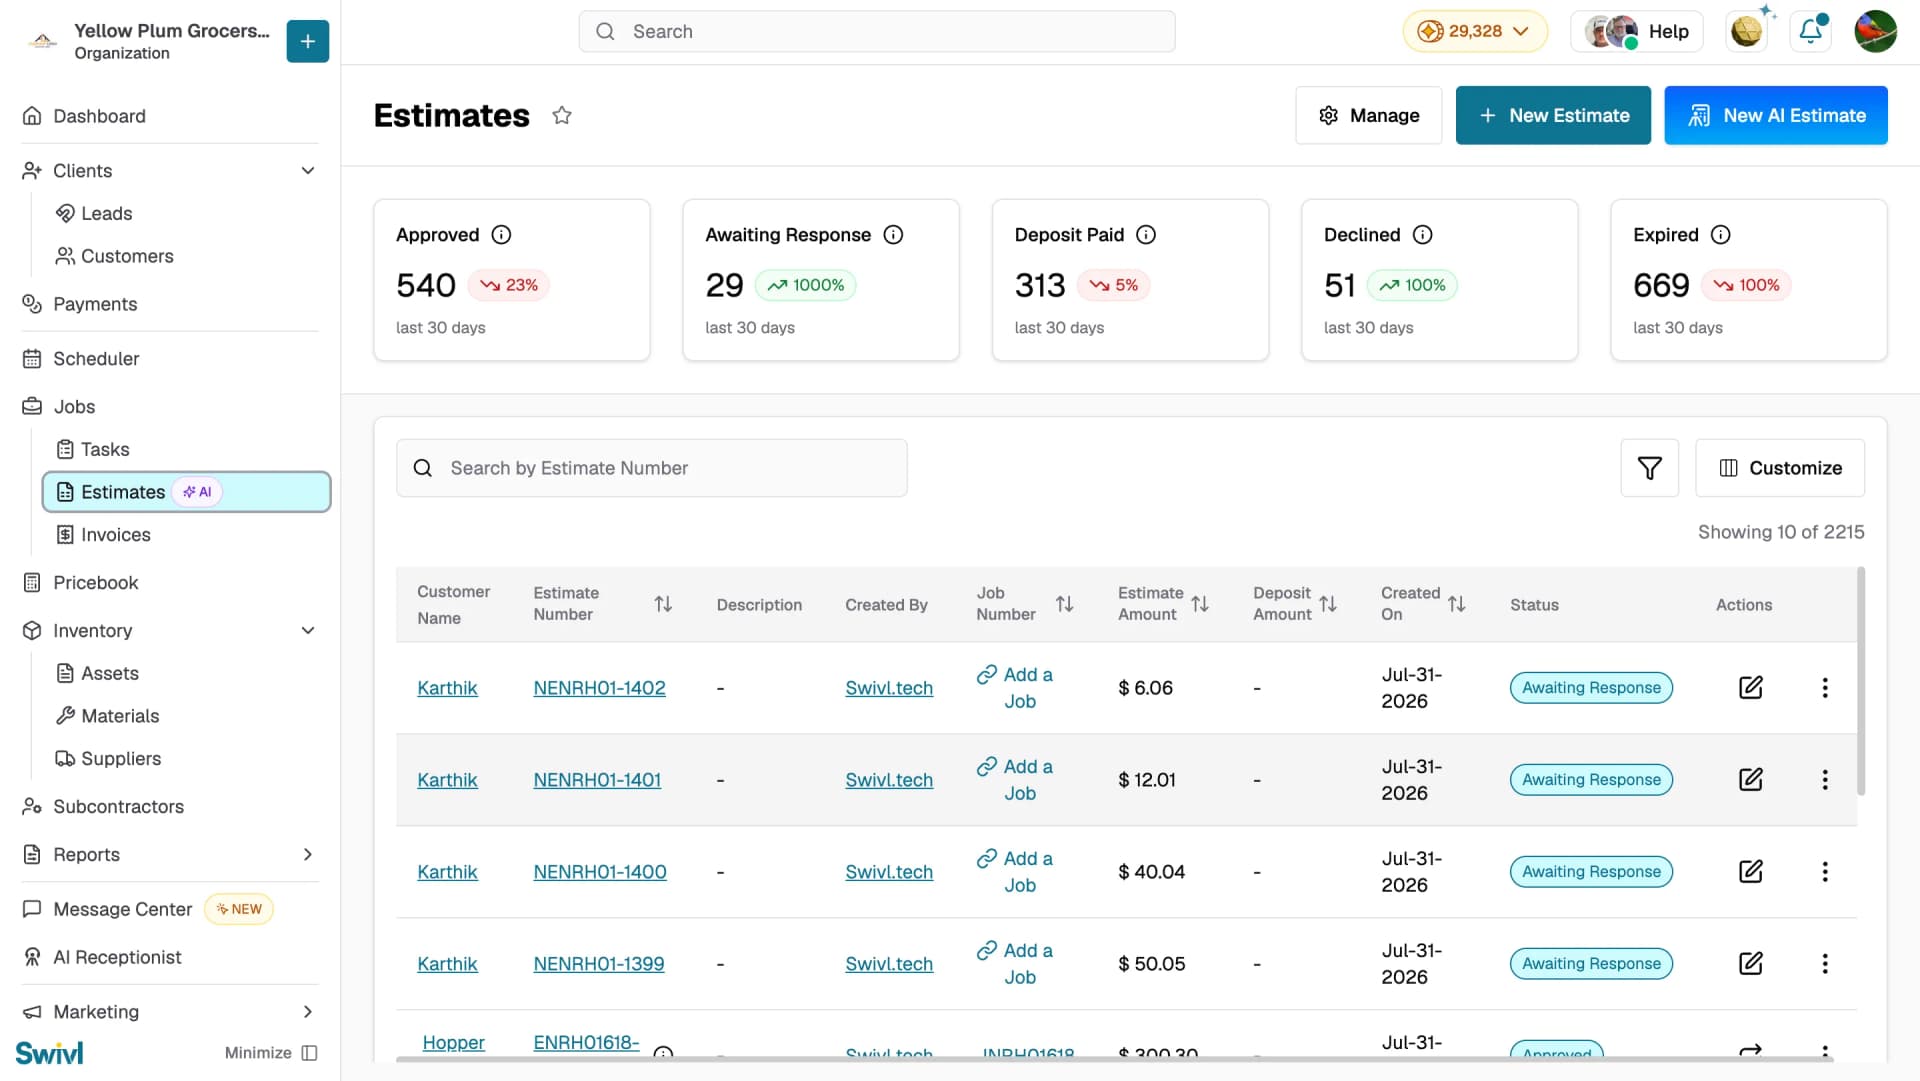
An Estimate is the quote you provide to a customer for proposed work. You can create estimates manually or use AI Estimate to help generate one.
Go to Jobs → Estimates, where you can select:
- + New Estimate to create an estimate manually
- New AI Estimate to create an estimate with AI
Estimates can also be associated with a job so the quote stays connected to the related work.
Invoice
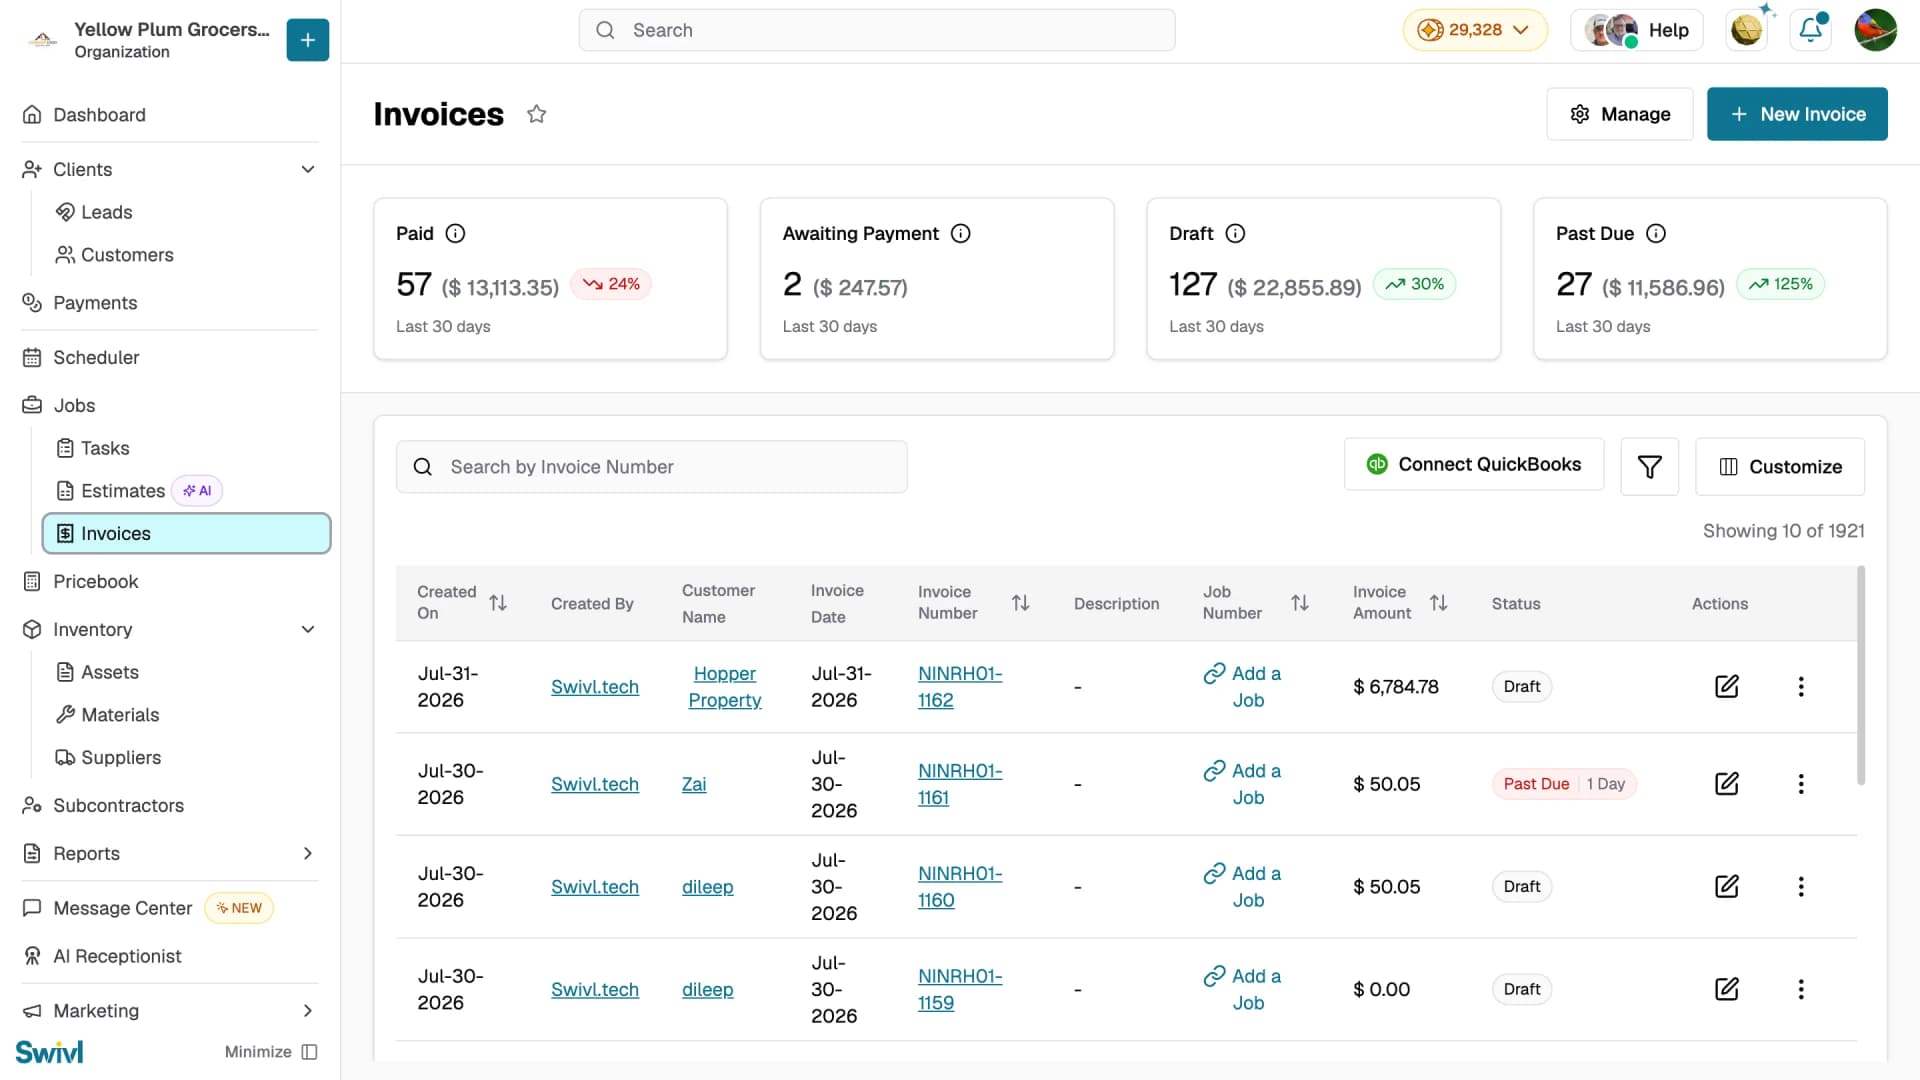
An Invoice is used to bill a customer for the products or services you provide. You can create an invoice directly or generate one as part of your job and estimate workflow.
Go to Jobs → Invoices and select + New Invoice to create one.
Invoices can be linked to jobs, allowing you to keep the work and its billing information together.
Note: A simple way to remember: Jobs organize the work. Tasks schedule the work. Estimates quote the work. Invoices bill for the work.
Where Leads and Customers fit
Before a job exists, there's usually a Lead — a potential customer who reached out through your website, AI Receptionist, or was added manually. When they're ready to move forward, you Converting a Lead to a Customer or Job and every job you create is tied to a Customer. So the full journey looks like: Lead → Customer → Job → Tasks → Estimate → Invoice. Learn more in the
From job to payment: the full workflow
1. Create a job
Start by creating a job for the customer and the work that needs to be completed. The job becomes the central record for tracking the work.
2. Create tasks
Break the job into the individual pieces of work or visits that need to be completed.
Go to Jobs → Tasks and select + New Task to create a task.
3. Schedule and assign the work
Schedule each task for the appropriate date and time and assign it to the technician responsible for completing the work.
You can use the Scheduler to manage scheduled work across your team.
4. Create an estimate
If the customer needs a quote before the work begins, go to Jobs → Estimates. Select + New Estimate to create one manually, or New AI Estimate to create an estimate using AI.
Send the estimate to the customer for review and approval.
5. Create an invoice
When you're ready to bill the customer, create an invoice for the work.
Go to Jobs → Invoices and select + New Invoice, or create an invoice as part of your existing job or estimate workflow.
6. Complete the job
Once the required tasks and billing activities are complete, the job can be closed.
Note: Not every workflow needs every step. For example, you can create an invoice without first creating an estimate.
Do I need a job to create a task?
Yes. Every task is associated with a job.
When creating a task, select the job the task belongs to. This keeps the scheduled work connected to the overall customer job.
If a job doesn't exist yet, create the job first and then add the task.
Tip: If the work needs to be scheduled, assigned, tracked, or billed later, creating a job helps keep everything related to that work together.
Wrapping up
Once you're comfortable with these four records, everything else in Swivl falls into place: jobs organize the work, tasks schedule it, estimates quote it, and invoices bill for it. Start every piece of customer work with a job, and the rest stays connected automatically.